 ultimate-guide
Beginner Guide to Coffee Bean Cooling Methods
Table of Contents
- Why Coffee Bean Cooling Matters After Roasting
- How to Cool Coffee Beans After Roasting: Air Cooling Basics
- Coffee Roasting Cooling Time: What to Aim For
- Using a Coffee Bean Cooling Tray or Perforated Surface
- DIY Cooling Setups for Different Batch Sizes
- How to Remove Chaff from Roasted Coffee Beans
- Troubleshooting Slow or Uneven Cooling
- Conclusion: Building a Repeatable Cooling Routine
- Frequently Asked Questions
Last Updated: October 12, 2026
Why Coffee Bean Cooling Matters After Roasting
Coffee bean cooling is the step home roasters most often rush, and it is the step that decides whether the roast you just nailed tastes like caramel or ash. At Third Space Coffee, we roast in-house. Stop the process too slowly and the roast drifts past the profile you worked to hit.
That final temperature drop is not cosmetic. It sets the ceiling on how good the cup can be.
How Cooling Speed Affects Roast Development and Flavor
Cooling speed directly controls how much roast development happens after the beans leave the drum. Beans leave the roaster at roughly 400°F (204°C) and carry enough internal heat to keep browning for another minute or more. Rapid cooling halts that carryover at the right moment, locking in the sugars and acids you developed.
The Specialty Coffee Association's roasting resources treat cooling as part of the roast profile, not an afterthought. Treat it the same way.
How to Cool Coffee Beans After Roasting: Air Cooling Basics
Air cooling is the standard method for cooling roasted coffee beans, and it is what nearly every commercial roaster uses. Moving air across the bean mass pulls heat out fast and evenly, without water or extra handling.
The principle is simple: the more air you move across the beans, the faster they shed heat. A fan plus a perforated surface gets you there.
- Spread beans in a thin, even layer so air reaches all of them
- Point a fan across the beans, not just at them
- Stir every 20-30 seconds to expose fresh surfaces
Coffee Roasting Cooling Time: What to Aim For
Most guides hand you a single number and move on. That number is a starting point, not a rule, because the right cooling time depends on batch size, the equipment moving air across the beans, and how you measure the result. Here is how to set a target you can actually hit.
The Practical Target Range
Aim to bring beans from roaster temperature down to near room temperature in 3-4 minutes, with the steepest drop in the first 60-90 seconds. That early window is when carryover cooking does the most damage, so the first minute and a half matters more than the last two.
That range shifts with batch size:
- 4-8 oz: 2-3 minutes is realistic on a colander or sieve with steady stirring.
- 8-12 oz: 3-4 minutes on a mesh screen with a box fan.
- 1 lb and up: 3-4 minutes only if you have a perforated tray plus strong airflow and continuous agitation. Without agitation, expect 5 minutes or more and uneven results.
Measure Temperature, Not Just Time
Time is a proxy. Temperature is the actual variable you are controlling. Two measurement methods work for home roasters:
- Instant-read thermometer: Push the probe into the center of the bean pile. You want the reading to fall below roughly 100°F before storage. Check at 90 seconds, 2 minutes, and 4 minutes to see the curve, not just the endpoint.
- Hand test: Push your hand into the middle of the pile and hold for a few seconds. Cool to the touch throughout means you are done. Any lingering warmth means more cooling time.
A common pattern is that the surface reads cool while the center still holds heat. That is why the hand test goes into the pile, not across the top, and why the thermometer probe goes deep rather than resting on the surface.
Why the First 90 Seconds Decide the Roast
Beans leave the roaster at roughly 400°F (204°C) and carry enough internal heat to keep browning for another minute or more. Every second in that window is still roast development.
The Specialty Coffee Association's roasting resources treat cooling as part of the roast profile, not an afterthought. Treat it the same way, and time your drop against the curve rather than against the clock alone.
How to Tell When Beans Are Cool Enough to Store
Beans are ready to store when they are cool to the touch throughout, not just on the surface. Push your hand into the middle of the pile and hold it there for a few seconds. Any lingering warmth means more cooling time.
Storing warm beans traps moisture and steam in the container, which dulls flavor and shortens shelf life. Give them the extra minute.
Using a Coffee Bean Cooling Tray or Perforated Surface
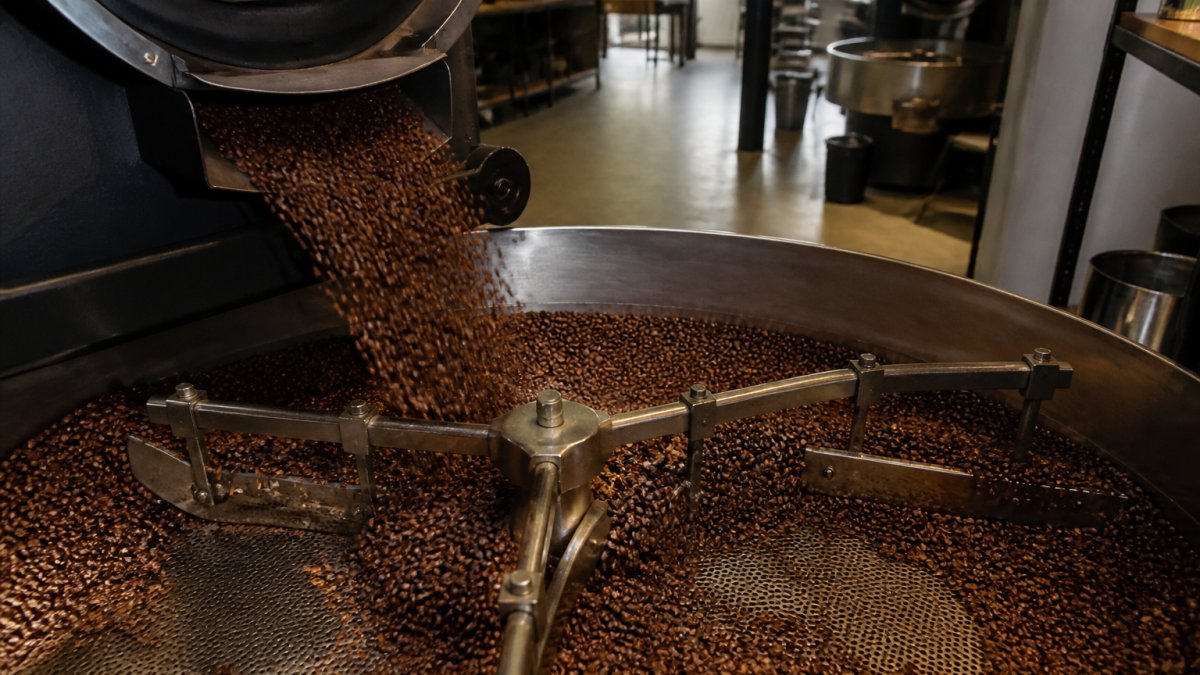
A coffee bean cooling tray is a shallow, perforated pan that lets air pass up through the bean mass while you stir. Most commercial trays pair that surface with a motor-driven arm that agitates beans continuously.
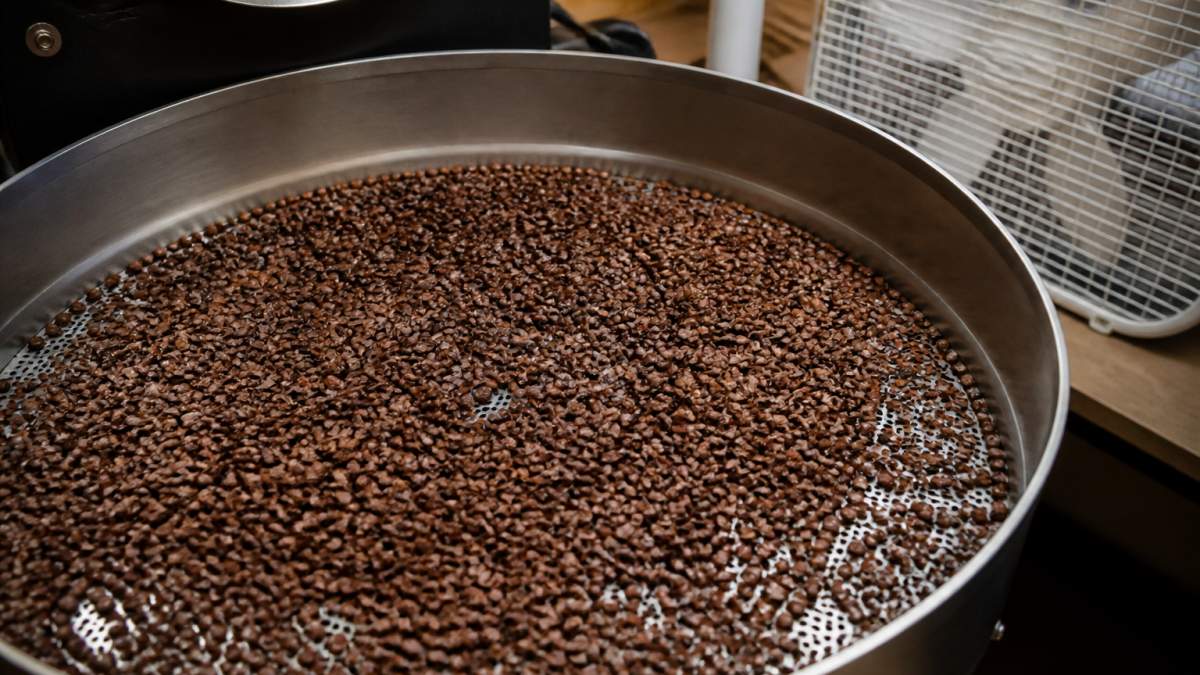
You do not need a motorized tray at home. The National Coffee Association's guide to coffee notes that airflow and surface area matter more than the specific equipment.
DIY Cooling Setups for Different Batch Sizes
Match your cooling setup to your batch size, because a method that works for 4 ounces will fail for a full pound. The table below is the summary. The sections after it explain why each setup behaves the way it does, so you can pick one and know what to expect.
| Batch Size | Best Setup | Cooling Time | Effort | Consistency | Key Limitation |
|---|---|---|---|---|---|
| 4-8 oz | Colander or sieve, hand-stirred | 2-3 minutes | Low | Good if stirred steadily | Slows fast if piled deep |
| 8-12 oz | Mesh screen plus box fan | 3-4 minutes | Medium | Good with even spreading | Needs a thin, even layer |
| 1 lb+ | Perforated tray plus exhaust fan | 3-4 minutes | High | Fair without agitation | Uneven cooling without stirring |
Colander or Sieve (4-8 oz)
A sieve, colander, or mesh screen is the simplest home cooling tool, and it doubles as a chaff sorter. Pour the beans into the sieve and shake gently over a bowl or sink. The motion separates chaff while the open mesh lets heat escape.
This method works best for batches under 12 ounces. For anything larger, the beans sit too deep and the center stays warm while the edges cool.
Mesh Screen Plus Box Fan (8-12 oz)
A mesh screen over a bowl, with a box fan pointed across the beans rather than down at them, moves enough air to cool a 12-ounce batch in 3-4 minutes. The mechanism is simple: moving air strips heat from the bean surface, and a thin layer exposes more surface at once. Spread the beans in a single layer, or as close to it as the screen allows, and stir every 20-30 seconds so the beans at the bottom trade places with the ones on top.
Perforated Tray Plus Exhaust Fan (1 lb and up)
A coffee bean cooling tray is a shallow, perforated pan that lets air pass up through the bean mass while you stir. Most commercial trays pair that surface with a motor-driven arm that agitates beans continuously.
You do not need a motorized tray at home. The National Coffee Association's guide to coffee notes that airflow and surface area matter more than the specific equipment.
Water Quenching: Trade-Offs and Safe Use
Water quenching sprays or dunks beans in water to stop the roast instantly, and it does cool faster than air. The trade-off is real: water can crack beans, add moisture, and mute the acidity that makes a light roast interesting.
If you try it, use a light mist rather than a dunk, and only on darker roasts where the flavor is less delicate. Never pour water into a hot roaster drum.
Which Setup to Pick
If you roast under 8 ounces, start with a sieve and your own arm. If you roast 8-12 ounces, add a box fan and a mesh screen. If you roast a pound or more, you need a perforated surface with airflow from below and a plan for stirring, because no fan alone will cool a deep pile evenly. Pick the setup that matches your typical batch, then upgrade only when your cooling times consistently drift past 4 minutes.
How to Remove Chaff from Roasted Coffee Beans
Chaff is the papery skin that sheds off beans during roasting, and removing it is easiest while the beans are still moving and cooling. The same agitation that speeds cooling also floats chaff to the surface.
- Shake beans in a sieve or colander over a bowl to sift chaff out
- Point a fan across the beans so light chaff blows clear
- Pick out stubborn pieces by hand after cooling
A little chaff left on the beans is harmless. A lot of it adds a papery taste to the cup, so skim what you can.
Troubleshooting Slow or Uneven Cooling
Slow cooling almost always traces back to one of three problems: too little airflow, too deep a bean pile, or no agitation. Uneven cooling usually means the beans are not spread evenly, so some sit in a hot pocket while others cool.
- If cooling takes over 5 minutes, add a stronger fan or spread the beans thinner
- If the edges cool but the center stays warm, stir more often
- If one side cools faster, reposition the fan so air crosses the whole tray
Fixing airflow solves most of these. Start there before changing anything else.
Conclusion: Building a Repeatable Cooling Routine
Cooling is where a good roast either holds its flavor or loses it, and the fix is consistency. Pick one setup, time your drop to 3-4 minutes, and stir the same way every batch so you can compare results.
If you would rather skip the guesswork, Third Space Coffee roasts in-house. Stop by for a cup, or ask us about our beans and our flexible meeting room rental for your next team gathering.
Frequently Asked Questions
How do you cool coffee beans after roasting?
Spread the beans in an even layer on a perforated tray, mesh screen, or colander and move air across them with a fan or motorized cooler. Stir occasionally to expose fresh surfaces. Most home roasters aim to bring beans from around 400°F down to near room temperature within 3 to 4 minutes. This stops carryover cooking and locks in the roast profile you intended.
How quickly should roasted coffee beans cool?
Target 3 to 4 minutes for a full batch, with some roasters pushing for 60 to 90 seconds on small loads. The faster the bean temperature drops, the less carryover cooking continues past your intended roast level. Cooling too slowly can push a medium roast into dark territory and flatten the flavors you worked to develop.
Can you cool roasted coffee beans with a fan?
Yes. A box fan or exhaust fan positioned to pull air through a perforated tray or colander is one of the most common home setups. Keep the airflow steady rather than blasting, and stir the beans every 30 seconds or so. This method works well for batch sizes from a few ounces up to a pound.
What is the best way to cool coffee beans at home without a cooling tray?
Use a colander, sieve, or mesh screen set over a bucket, then aim a box fan across the top. Spread beans in a single even layer, not piled up, so air reaches every bean. Stir with a wooden spoon every 30 seconds. This setup costs almost nothing and cools a typical home batch in about 3 to 4 minutes.
Should you remove chaff before or after cooling coffee beans?
Remove chaff after cooling. During the roast, chaff loosens and rises with the airflow, but some stays mixed with the beans. Once beans are cool to the touch, pour them between two bowls or shake them over a mesh screen. The lighter chaff separates and blows away, leaving cleaner beans ready for storage.
How long should coffee beans rest after roasting before brewing?
Most beans taste best after resting 12 to 48 hours, depending on roast level and brewing method. Darker roasts peak sooner, often within 24 hours. Lighter roasts may need 3 to 5 days to settle. Store beans in an airtight container at room temperature, away from light and moisture, once they are fully cool.