
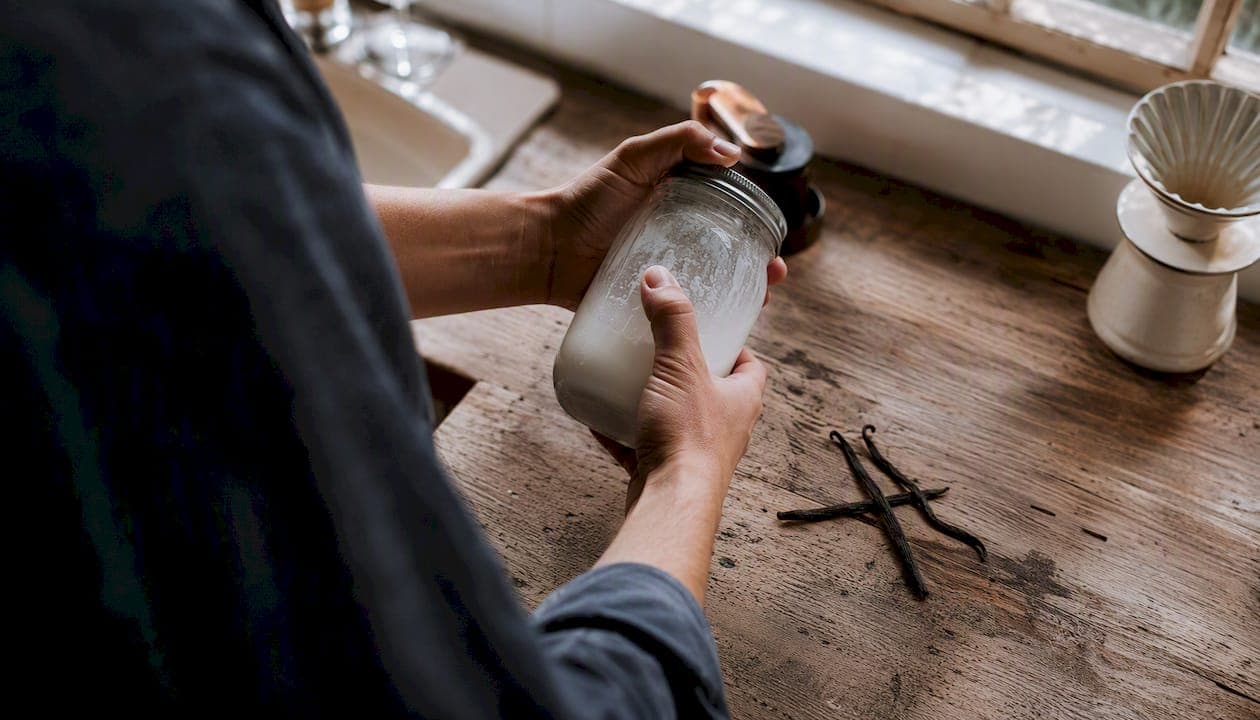
Café-quality cold foam takes under a minute at home. The fastest single-serve recipe: froth 3–4 tablespoons of very cold nonfat milk with a handheld frother for 15–20 seconds until soft peaks form, then spoon it straight over your iced coffee. No frother? Seal that same amount of cold milk in a mason jar, shake hard for 45–60 seconds, and you get the same result.
- Use nonfat or 2% milk straight from the fridge, never room temperature.
- A handheld frother is the fastest tool; a sealed jar is the best no-equipment backup.
- Expect a light, pourable foam that sits on top of your drink for a few minutes before slowly incorporating. That's exactly how it should behave.
- Cold foam is not whipped cream. Whipped cream is denser and behaves differently on drinks — cold foam is lighter, airier, and designed to float on iced beverages.
Pro Tip: Keep a small jar of pre-measured cold milk in the fridge so you can froth on demand every morning without measuring.
Key Takeaways
Making cold foam at home requires very cold milk, the right container fill level, and stopping at soft peaks — everything else is a variation on those three rules.
| Point | Details |
|---|---|
| Start with cold milk | Use nonfat or 2% milk straight from the fridge for the most volume and stability. |
| Measure 3–4 tablespoons | A single serving needs only 3–4 tablespoons; fill your container no more than halfway. |
| Frother or jar both work | A handheld frother takes 15–20 seconds; a sealed jar shake takes 45–60 seconds. |
| Add cream for richness | Replace 1 tablespoon of nonfat milk with heavy cream for a sweet cream texture. |
| Use it immediately | Cold foam is best the moment it's made; refrigerate leftovers and re-froth within 24 hours. |
Table of Contents
- What goes into cold foam at home?
- Which tools actually work for frothing?
- Step-by-step methods for every tool you own
- Classic cold foam and sweet cream recipes
- Which milk gives you the best foam?
- Why is my cold foam not working?
- How long does homemade cold foam last?
- Why does milk temperature and fat content matter so much?
- A quick note on making this a daily habit
- Want the coffee to match the foam?
- Sources
What goes into cold foam at home?
The ingredient list is short, but the ratios matter more than most people realize.
Single-serve base recipe:
| Ingredient | Amount | Role |
|---|---|---|
| Nonfat or 2% milk (very cold) | 3–4 tablespoons | Protein traps air; creates foam volume |
| Heavy cream (optional) | 1 tablespoon | Adds richness and stability |
| Vanilla simple syrup | 1–2 teaspoons | Sweetness and slight viscosity |
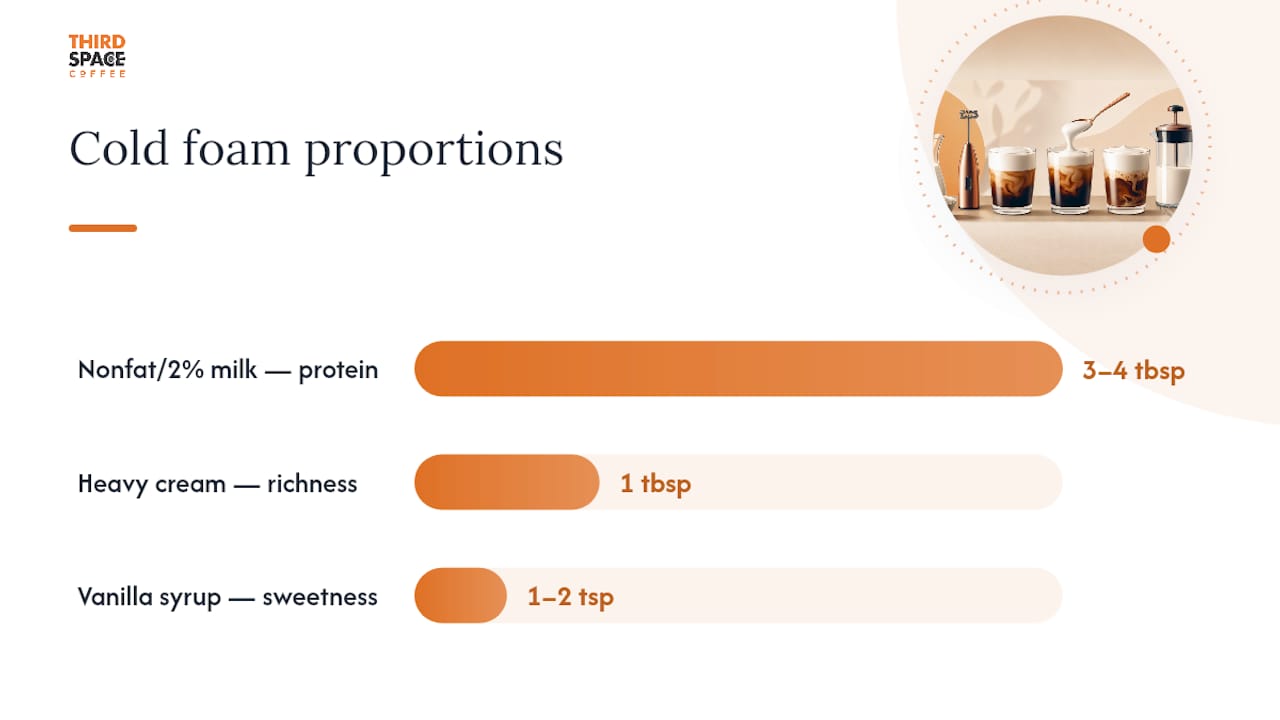
Protein is what actually builds foam. Fat adds body but works against volume, which is why nonfat milk produces the airiest, most voluminous cold foam while heavier milks make a denser, richer result. The syrup does more than sweeten — a small amount of sugar slightly thickens the liquid, which helps bubbles hold together longer.
Quick substitutions:
- No simple syrup: dissolve 1 teaspoon of granulated sugar directly into the cold milk before frothing.
- Vanilla flavor without syrup: add 1/8 teaspoon of pure vanilla extract.
- Honey works as a sweetener but dissolve it first in a tiny splash of warm water, then cool before adding.
- Torani vanilla syrup is a reliable off-the-shelf option that matches the flavor profile of café sweet cream versions.
Which tools actually work for frothing?
You probably already own at least one tool that works. Here's how they stack up.
A handheld milk frother is the clear winner for speed and consistency. It costs under $10, takes 15–20 seconds, and produces a reliable soft foam every time. The only real limitation is batch size — it's best for single servings.
An immersion blender handles larger batches well and produces a fine, stable foam in about 15–30 seconds. It's slightly messier to clean but worth it when you're making foam for two or three drinks at once.
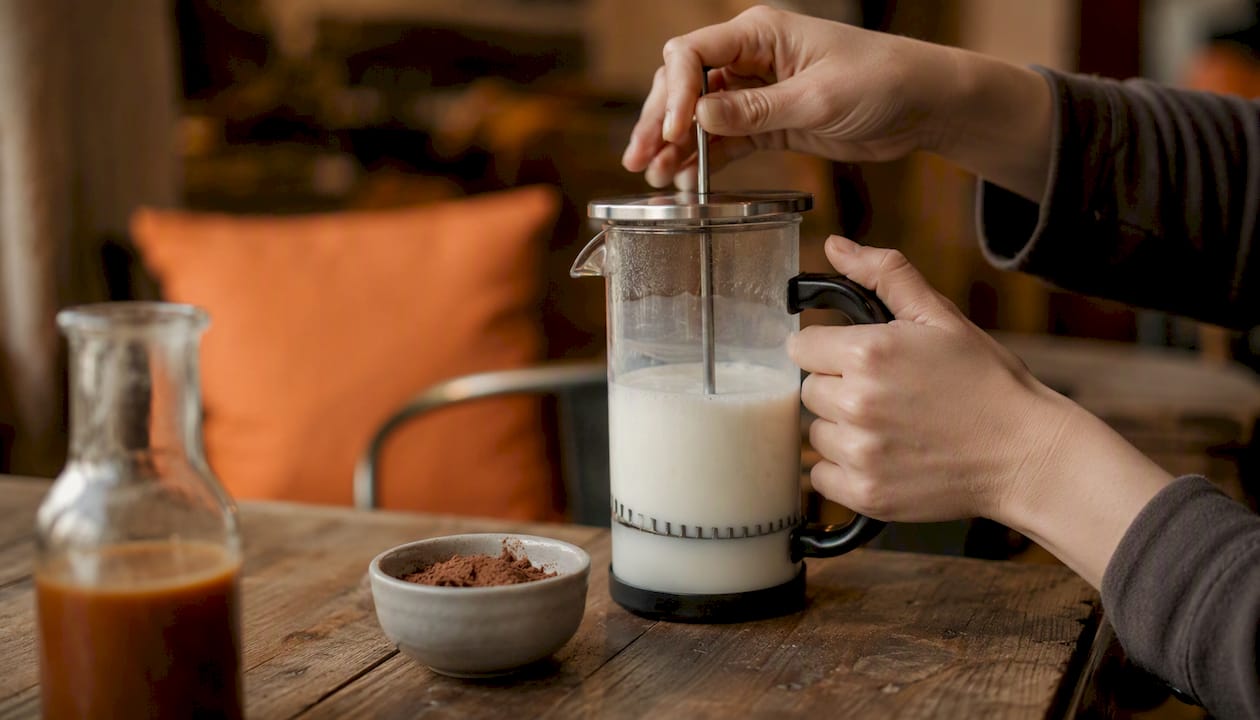
A French press is the most underrated no-frother tool in most kitchens. You pour the cold milk in, pull the plunger up and down rapidly 20–30 times, and the mesh screen does the aerating. The foam it produces tends to be finer and more uniform than a jar shake.
A countertop blender works for batches but can over-froth quickly. Keep it to 15–20 seconds on low and watch for soft peaks.
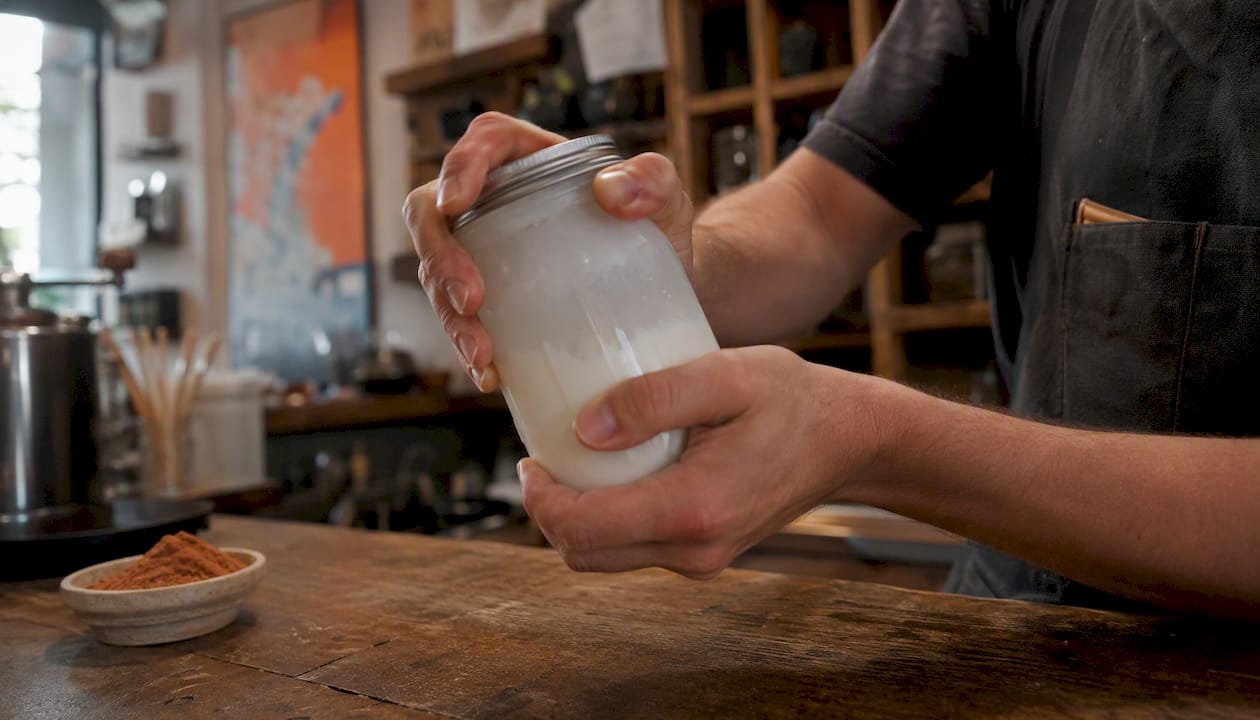
The mason jar shake requires zero equipment beyond a jar with a lid. It takes more effort and about 45–60 seconds of vigorous shaking, but it genuinely works.
A whisk is the slowest option — expect 45–90 seconds of hard whisking — but it's a real fallback when nothing else is available.
Pro Tip: Always use a tall, narrow container rather than a wide bowl. The taller vessel concentrates the agitation and helps the frother or whisk trap air efficiently. Fill it no more than halfway — the foam needs room to expand.
Step-by-step methods for every tool you own
Handheld frother
- Pour 3–4 tablespoons of very cold milk into a tall, narrow cup or jar.
- Add syrup if using.
- Submerge the frother wand just below the surface of the milk.
- Turn it on and slowly lift the wand upward as foam builds, keeping it near the surface.
- Froth for 15–20 seconds until the foam thickens and stabilizes.
- Stop when you see soft peaks — the foam should hold a gentle mound but still pour.
French press
- Pour cold milk into the French press, filling it no more than one-third full.
- Place the lid on and pull the plunger up and down rapidly.
- Pump 20–30 times — about 30 seconds of steady pumping.
- Pour immediately; French press foam settles faster than frother foam.
Mason jar shake
- Add 3–4 tablespoons of cold milk to a mason jar, keeping it no more than half full.
- Seal the lid tightly.
- Shake vigorously for about a minute (https://www.ovalware.com/blogs/news/how-to-make-cold-foam-at-home-no-frother-needed).
- Let it settle for 10 seconds, then spoon the foam over your drink.
Blender or immersion blender
- Add at least 1/4 cup of cold milk (blenders need volume to work).
- Blend on medium for 15–30 seconds.
- Watch for soft peaks — stop before the foam turns stiff or grainy.
- Spoon or pour immediately.
Whisk
- Pour cold milk into a wide, shallow bowl.
- Whisk vigorously in a circular motion for 45–90 seconds.
- The foam will be less uniform than frother foam but still usable.
- Spoon directly onto your drink right away — whisk foam collapses the fastest.
Texture check: Soft peaks mean the foam holds a gentle shape when you lift the spoon but still flows slowly. Stiff peaks mean you've gone too far — the foam will feel grainy and won't pour. If you hit stiff peaks, stir gently to loosen it slightly before serving.
Classic cold foam and sweet cream recipes
Plain cold foam (single serve)
| Ingredient | Amount |
|---|---|
| Nonfat milk, very cold | 1/4 cup (4 tablespoons) |
| Vanilla simple syrup | 1 teaspoon |
Froth 15–20 seconds with a handheld frother. Yields enough foam to top one 16 oz iced drink. Texture: light, airy, pourable.
Vanilla sweet cream cold foam (Starbucks-style)
Combine all three, then froth 20–25 seconds. The cream-to-milk ratio gives this version noticeably more body and a richer mouthfeel. It sits on top of cold brew longer before incorporating. Yields one generous serving.
The heavy cream addition works because replacing one tablespoon of nonfat milk with heavy cream adds body and stability without completely sacrificing the airy texture that makes cold foam different from whipped cream.
Which milk gives you the best foam?
Milk choice is the single biggest variable in cold foam texture, and the differences are real enough to matter.
Dairy options, ranked by foam volume:
- Nonfat (skim) milk: highest volume, lightest texture, least rich. Best for a classic café-style cold foam that floats visibly.
- 2% milk: slightly less volume than skim, noticeably more flavor. A good everyday compromise.
- Whole milk: lower foam volume, creamier taste. Works but produces a denser, shorter-lived foam.
- Half-and-half: minimal foam volume, very rich. Better used as a small addition than the base.
- Heavy cream: won't foam on its own into cold foam — it whips into whipped cream instead. Use as a 1-tablespoon addition to nonfat or 2% for the sweet cream effect.
Dairy-free options:
- Barista oat milk (like Oatly Barista): the most reliable plant-based option. Barista editions contain added stabilizers that help trap air. Foam is slightly denser than skim but holds well.
- Soy milk: second-best dairy-free choice. Higher protein than most plant milks helps with foam stability.
- Almond milk and rice milk: both struggle to produce stable foam without added stabilizers. Usable in a pinch but expect thin, fast-collapsing results.
Pro Tip: For a dairy-free sweet cream effect, add one tablespoon of full-fat coconut cream to barista oat milk before frothing. The fat adds richness while the oat milk's stabilizers keep the foam from collapsing.
Why is my cold foam not working?
Most cold foam failures come down to three things: milk that's too warm, a container that's too full, or frothing past the right point.
Common problems and fast fixes:
- Foam is thin and watery: milk wasn't cold enough, or you used a high-fat milk as the base. Switch to nonfat or 2% straight from the fridge.
- Foam collapses within seconds: over-frothed to stiff peaks, or the container was too wide. Use a taller, narrower vessel and stop at soft peaks.
- Foam is grainy or chunky: you went past soft peaks into stiff territory. Stir gently to break it down, or start over with fresh cold milk.
- Foam won't form at all: milk is too warm, or the jar/container is too full. Fill no more than halfway and make sure milk is fridge-cold.
Before you start, check these four things:
- Milk temperature: straight from the fridge, not sitting on the counter.
- Container volume: no more than half full.
- Tool position: frother wand near the surface, not submerged at the bottom.
- Syrup timing: add syrup before frothing, not after.
Pro Tip: Add syrup before frothing, not after. Stirring syrup into finished foam deflates it. Mixing it into the cold milk first means the sugar is already distributed when the bubbles form, which actually helps stabilize them slightly.
How long does homemade cold foam last?
Use it immediately for the best texture. Cold foam is at its peak the moment you make it — bubbles are finest, volume is highest, and it floats cleanly on top of your drink.
If you have leftover foam, refrigerate it in a sealed container. Some sources suggest it keeps 2–4 days refrigerated, while other test-kitchen guidance recommends consuming within 24 hours for best texture. The foam will flatten in the fridge but can be re-frothed briefly before using. Quality declines well before safety becomes a concern — it's dairy, so keep it cold, but don't worry about a day-old batch being unsafe.
Serving tips:
- Spoon foam gently over your drink rather than pouring it all at once — this preserves the layered look.
- Use the back of a spoon to guide the foam and keep it from sinking immediately.
- Cold foam pairs best with cold brew coffee, iced lattes, and iced chai. The slight bitterness of cold brew and the foam's sweetness balance each other well.
- Avoid adding foam to very hot drinks — the heat collapses it instantly.
Why does milk temperature and fat content matter so much?
Foam forms when agitation traps air bubbles in liquid. What keeps those bubbles stable is protein. Milk proteins, primarily casein and whey, form a film around each air bubble and hold it in place. Fat molecules interfere with that film, which is why lower-fat milk traps air more easily and produces more voluminous foam while whole milk or cream produces less volume but more richness.
Temperature plays a separate but equally important role. Cold milk has higher surface tension than warm milk, which means bubbles form smaller and hold together longer. Warm or room-temperature milk produces larger, coarser bubbles that collapse quickly. This is why every method in this guide starts with milk straight from the fridge — it's not a preference, it's the mechanism.
Agitation method influences bubble size too. A handheld frother spinning at high speed creates many small, uniform bubbles. A jar shake creates larger, less uniform bubbles. Both work, but the frother foam holds its texture longer because the bubble structure is finer.
A quick note on making this a daily habit
Cold foam is one of those small upgrades that genuinely changes how you experience iced coffee at home. The technique clicks fast — most people nail it on the second or third try.
My own routine: I keep a small jar with a pre-measured 4-tablespoon pour of nonfat milk in the fridge every night. In the morning, I add a teaspoon of vanilla syrup, froth for 20 seconds, and it's done before the coffee is even poured. On weekends, I swap in the sweet cream version — two tablespoons of nonfat milk, two of heavy cream, a little more syrup — and it feels like a proper café drink without leaving the kitchen.
The one thing most guides skip: don't overthink the milk type on your first attempt. Once you've got the texture right, then experiment with barista oat milk or the sweet cream ratio. Getting the technique solid first means you'll actually understand what the milk swap is changing.
Want the coffee to match the foam?

Homemade cold foam deserves a great coffee base. Thirdspacecoffee roasts its beans in-house in Colorado Springs, and the difference shows in the cup. Whether you're pulling shots for an iced latte or brewing cold brew overnight, starting with freshly roasted whole bean coffee makes every sip worth the extra 20 seconds of frothing. Stop in or order online for pickup — the specialty drinks menu is also worth a look if you want to taste what a properly made sweet cream cold foam should feel like before you perfect yours at home.
Sources
- How to Make Cold Foam
- How to Make Cold Foam for Coffee at Home
- How to Make Cold Foam Iced Coffee Without a Frother