
TL;DR:
- Latte art is not just decoration; it signals quality through microfoam and espresso textures. Mastering proper steaming, equipment, and pour mechanics enables consistent, intricate designs. Patience and fundamentals are key, with steady practice improving skills faster than natural talent alone.
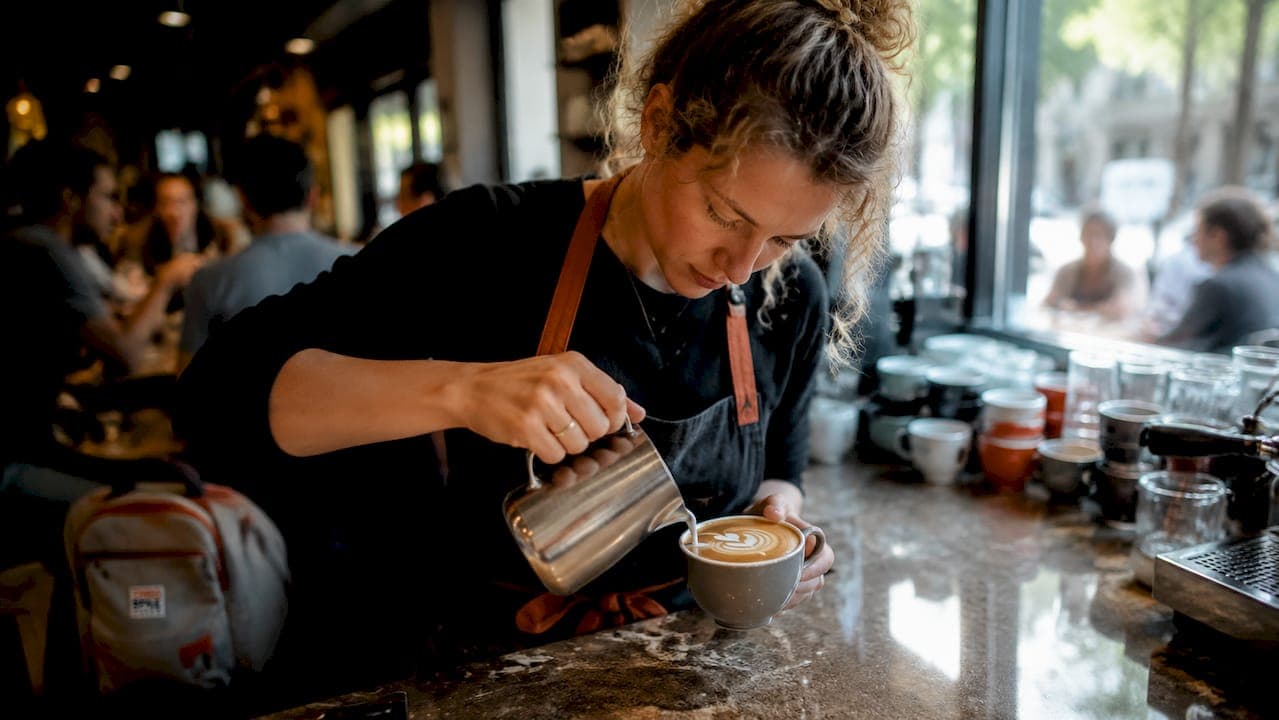
Latte art is the crafted pattern formed by pouring precisely textured steamed milk into a shot of espresso, and it signals far more than decoration. A clean heart or rosetta on top of your cup confirms that your milk steaming and espresso quality are both on point. Latte art functions as a visual indicator of microfoam and espresso quality, making it a functional skill, not just a pretty finish. Learning how to create latte art is the fastest way to level up your home or café coffee game.
What equipment do you need to create latte art?
The right tools make the difference between frustration and progress. You do not need a commercial setup, but a few specific items are non-negotiable.
The foundation is an espresso machine with a steam wand. Your machine must pull a shot in 25–30 seconds for proper crema development. That crema is the brown canvas your milk design sits on. Without it, no pour technique will save you.
Your frothing pitcher matters more than most beginners expect. A 12–20 oz stainless steel pitcher gives you enough control over milk volume and pour angle. Smaller pitchers work for single drinks; larger ones suit batch steaming but reduce precision. Stainless steel conducts heat evenly, which helps you gauge temperature by touch.
Milk selection is where most home baristas go wrong. Cold whole milk produces the most stable microfoam because its fat content holds air bubbles in suspension. Plant-based milks can work, but their protein structures behave differently and require adjusted steaming technique.
Here is a quick reference for your core setup:
| Item | Specification | Why it matters |
|---|---|---|
| Espresso machine | Steam wand included | Creates crema and steams milk |
| Frothing pitcher | 12–20 oz stainless steel | Controls pour angle and heat feedback |
| Coffee beans | Freshly roasted espresso blend | Produces dense, stable crema |
| Milk | Cold whole milk | Best microfoam stability |
| Optional tools | Toothpick or latte art pen | Adds fine detail to designs |
Pro Tip: Fill your pitcher to just below the spout's base. That volume leaves room for the milk to expand during steaming without overflowing.
How do you steam milk for perfect microfoam?

Microfoam is the foundation of every latte art design. The industry term for the technique is "milk texturing," and it has two distinct phases: stretching and whirlpooling.
The stretching phase
Position the steam wand tip just below the milk surface. Open the steam valve fully and let air enter the milk for 2–4 seconds. You will hear a soft hissing sound, not a loud screech. A screech means the wand is too far above the surface and you are creating large, useless bubbles.
The whirlpool phase
After stretching, submerge the wand tip fully and angle it slightly off-center. This creates a spinning vortex that folds large bubbles into the milk. The goal is microfoam that resembles wet, glossy paint with no visible bubbles on the surface.
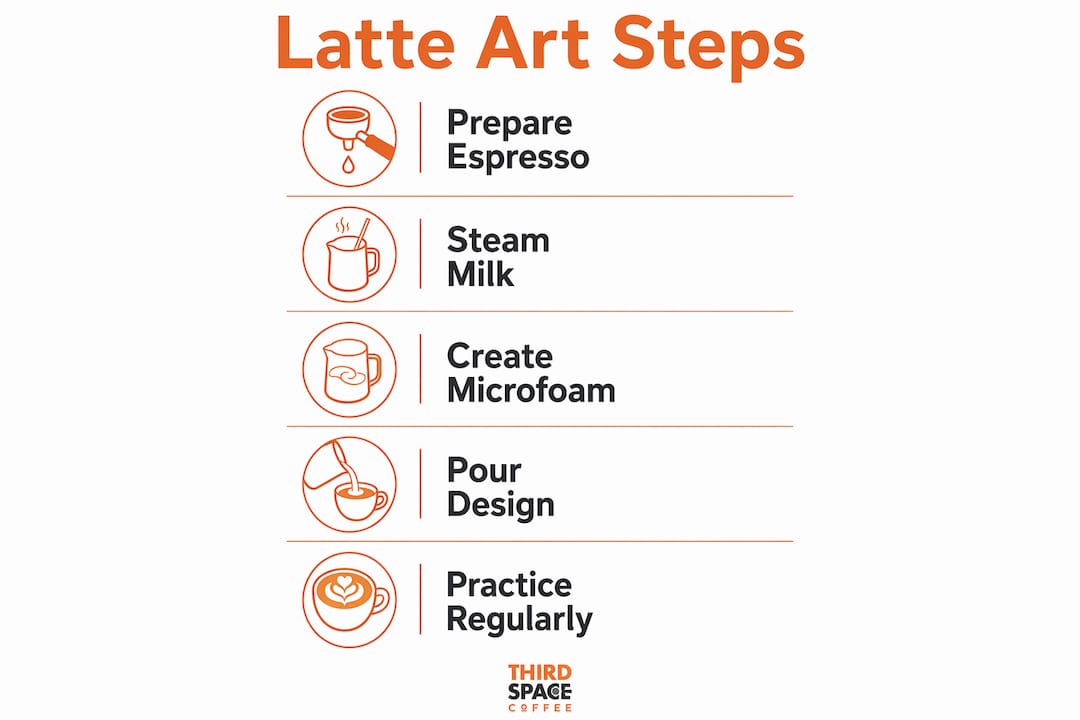
Follow these steps every time you steam:
- Fill the pitcher with cold whole milk to just below the spout base.
- Purge the steam wand for one second to clear condensation.
- Submerge the wand tip just below the surface and open steam fully.
- Stretch for 2–4 seconds by keeping the tip near the surface.
- Drop the wand deeper and angle it to create a whirlpool.
- Stop steaming when the pitcher feels too hot to hold comfortably, around 140–150°F.
- Tap the pitcher firmly on the counter twice to pop any remaining surface bubbles.
- Swirl the milk for 10 seconds to unify the texture.
- Let the milk rest for 10–15 seconds before pouring.
That resting step is one most beginners skip. Resting allows the microfoam to integrate fully, which produces more stable texture and better design control during the pour.
Pro Tip: Never steam the same milk twice. Reheating breaks down milk proteins and destroys the microfoam structure you worked to build.
How to pour latte art step by step
Pouring is where technique becomes visible. The four mechanics that govern every pour are cup angle, pour height, flow speed, and wrist wiggle. Control those four levers and any design becomes repeatable.
The heart is the best starting pattern. It teaches you every fundamental skill you need for tulips and rosettas later.
The three-phase heart pour
Phase 1: Integration pour. Tilt your cup at roughly 30 degrees. Hold the pitcher 4–6 inches above the cup and pour a thin, steady stream into the center. This integration pour fills the cup to about 60% and pushes milk under the crema. Pouring from this height prevents white milk from appearing on the surface too early.
Phase 2: Drop and form. Lower the pitcher spout to about half an inch above the milk surface. Increase your flow rate slightly. A white blob will begin to form on the surface. Keep pouring steadily until that blob spreads to roughly 80% of the cup's width.
Phase 3: Pull-through. Raise the pitcher slightly and cut a thin stream straight through the center of the white blob toward the near edge of the cup. That motion splits the blob and pulls it into a heart shape.
Here is a breakdown of the four pour mechanics and how each affects your design:
| Mechanic | Effect on design | Common mistake |
|---|---|---|
| Cup angle | Controls milk flow direction | Holding cup flat, which flattens the design |
| Pour height | Determines when milk surfaces | Dropping too low too early, causing blobs |
| Flow speed | Sets pattern width | Pouring too fast, losing shape definition |
| Wrist wiggle | Creates texture in rosettas | Wiggling too early before blob forms |
- Tilt the cup at 30 degrees toward you.
- Pour from 4–6 inches high to integrate milk under the crema.
- Fill to 60% capacity, then lower the pitcher to half an inch above the surface.
- Pour steadily until a white blob forms and spreads.
- Pull through the center with a thin stream to complete the heart.
Pro Tip: Practice the pull-through motion with water and food coloring before using real espresso. The muscle memory transfers directly.
What are the most common latte art mistakes?
Most latte art problems trace back to two sources: steaming errors and pouring errors. Identifying which one caused the problem saves you a lot of wasted milk.
Steaming mistakes and fixes:
- Bubbly, foamy milk means you stretched too long or held the wand too high. Cut stretching to 2 seconds and listen for a quieter hiss.
- Flat, watery milk means you did not stretch enough. Add one second to your stretching phase.
- Scorched milk means you went past 150°F. Milk proteins break down above that temperature, and the foam collapses. Use a thermometer until you can read the heat by touch reliably.
Pouring mistakes and fixes:
- White blobs appearing too early means you dropped the pitcher too low before the cup was 60% full. Keep height consistent through the integration phase.
- No visible pattern usually means the microfoam was too thick or the pour speed was too slow. Aim for a fluid, paint-like consistency.
- Asymmetrical designs come from an inconsistent wrist angle. Practice pouring in a straight line before attempting wiggle patterns.
"The barista who masters latte art first masters milk. Every design problem you see in the cup started in the pitcher. Fix the texture, and the pour takes care of itself."
Pro Tip: Record your pours from above with your phone. Watching the footage back reveals angle and speed issues you cannot feel in the moment.
Patience matters here. The barista craftsmanship required for consistent latte art develops through repetition, not through reading alone.
Key Takeaways
Mastering latte art requires properly textured microfoam, the right equipment, and deliberate control of four pour mechanics: cup angle, pour height, flow speed, and wrist wiggle.
| Point | Details |
|---|---|
| Equipment matters | Use a 12–20 oz stainless steel pitcher and an espresso machine that pulls shots in 25–30 seconds. |
| Milk texturing is the foundation | Stretch for 2–4 seconds, then whirlpool until milk reaches 140–150°F for glossy microfoam. |
| Rest before pouring | Let steamed milk sit 10–15 seconds so microfoam integrates and pours more consistently. |
| Master four pour mechanics | Cup angle, pour height, flow speed, and wrist wiggle control every latte art design. |
| Troubleshoot at the source | Most design failures trace back to steaming errors, not pouring errors. Fix the milk first. |
What I've learned from years behind the steam wand
The most common thing I hear from beginners is, "I just don't have the talent for it." That belief is wrong, and it costs people months of progress.
Consistency in steaming and pouring matters far more than natural ability. I have watched people with zero artistic background produce clean hearts within two weeks of daily practice. I have also watched naturally skilled people plateau because they skipped the fundamentals and jumped straight to rosettas.
My honest advice: spend your first week doing nothing but steaming milk. Do not even try to pour a design. Just steam, swirl, tap, and evaluate the texture. When your milk looks like glossy paint every single time, you are ready to pour. Trying to learn the pour before the texture is like trying to paint before you know how to mix colors.
The other thing I would tell my earlier self is to slow down the pull-through. Most beginners rush it. The pull-through is a deliberate, controlled motion, not a flick. Speed kills the heart shape every time.
Latte art is genuinely fun once the frustration phase passes. Treat each cup as a small experiment, not a performance. The home coffee brewing skills that support latte art build on each other, so every session teaches you something even when the design falls apart.
— Tanya
Latte art starts with great espresso

Every latte art design depends on what goes into the cup before the milk touches it. Weak crema or stale beans make the canvas unstable, and no pour technique fixes that. Thirdspacecoffee roasts whole bean espresso in-house in Colorado Springs, which means you get beans at peak freshness for maximum crema development. Browse the specialty drinks menu to see latte art craftsmanship in action, or pick up whole bean coffee to build your home setup on a foundation that actually works. Fresh beans are the single upgrade that makes every other technique more effective.
FAQ
What is latte art?
Latte art is a pattern created by pouring textured steamed milk into a shot of espresso. It signals that the milk has been properly steamed to a glossy, bubble-free microfoam.
What is the best milk for latte art?
Cold whole milk produces the most stable microfoam for latte art. Its fat content holds air in suspension better than lower-fat or plant-based alternatives.
How long does it take to learn latte art?
Most beginners produce a recognizable heart within two to four weeks of daily practice. Consistency in milk steaming accelerates progress faster than any other single factor.
Why does my latte art disappear into the espresso?
The most common cause is pouring too early before the cup is 60% full, or using microfoam that is too thin. Hold the pitcher higher during the integration phase and check your steaming technique first.
What temperature should steamed milk be for latte art?
Milk should reach 140–150°F during steaming. Above 150°F, milk proteins break down and the microfoam loses its silky texture, making clean designs impossible.