TL;DR:
- Home coffee roasting allows complete control over freshness, roast level, and flavor for a personalized brew. The process involves three phases—drying, Maillard reaction, and development—and requires specific equipment with safety precautions. Beginners can start with simple tools like a popcorn popper, focusing on gradual, controlled roasting to develop consistent, flavorful coffee.
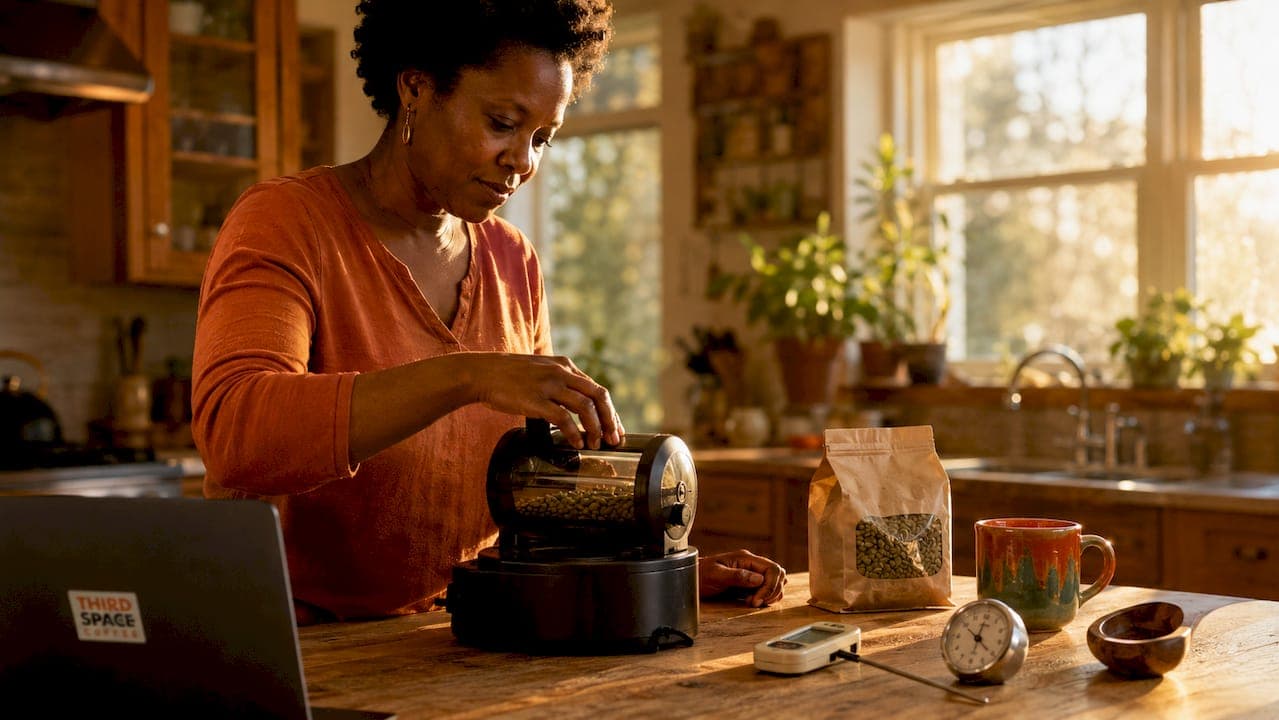
Home coffee roasting is the process of applying controlled heat to green coffee beans to unlock and develop their full flavor potential for personal brewing. Knowing how to roast coffee beans gives you complete control over freshness, roast level, and flavor in a way no pre-packaged bag can match. The process moves through three distinct phases, the Drying phase, the Maillard reaction, and the Development phase, each shaping the final cup. You can start with equipment you already own, or invest in a dedicated home roaster as your skills grow. This guide covers everything from gear to safety to step-by-step technique.
What equipment do you need to start roasting coffee beans at home?
The right setup makes home coffee roasting safer and more consistent. Your equipment choice determines batch size, control level, and how much attention the roast demands.
Common roasting methods for home use:
- Cast iron skillet or heavy pan: Low cost, works on any stovetop, but requires constant stirring and produces significant smoke.
- Oven roasting: Spread green beans on a perforated baking sheet at 450°F–500°F. Easy to start, but heat distribution is uneven.
- Air popcorn popper: One of the most popular beginner options. The hot air circulates beans evenly and the process is fast and visible.
- Dedicated home drum roaster: The most controlled option. Drum roasters automate stirring and often include temperature readouts.
Beyond the roasting device, you need a few key accessories. A kitchen thermometer tracks bean temperature. A timer keeps your roast on schedule. A metal colander or baking sheet cools beans rapidly after roasting, which stops the roast from continuing. Ventilation is not optional. A range hood on full power, an open window with a fan, or roasting in an open garage all work.
| Equipment | Approx. cost | Control level | Best for |
|---|---|---|---|
| Skillet or pan | $0–$20 | Low | Absolute beginners |
| Oven | $0 | Low | Casual experimenters |
| Air popcorn popper | $20–$40 | Medium | Consistent beginners |
| Dedicated drum roaster | $100–$500 | High | Serious hobbyists |
A typical home roasting batch takes 8–15 minutes, with setup costs ranging from $0 to $500 depending on the method you choose. That wide range means there is no reason to delay starting.
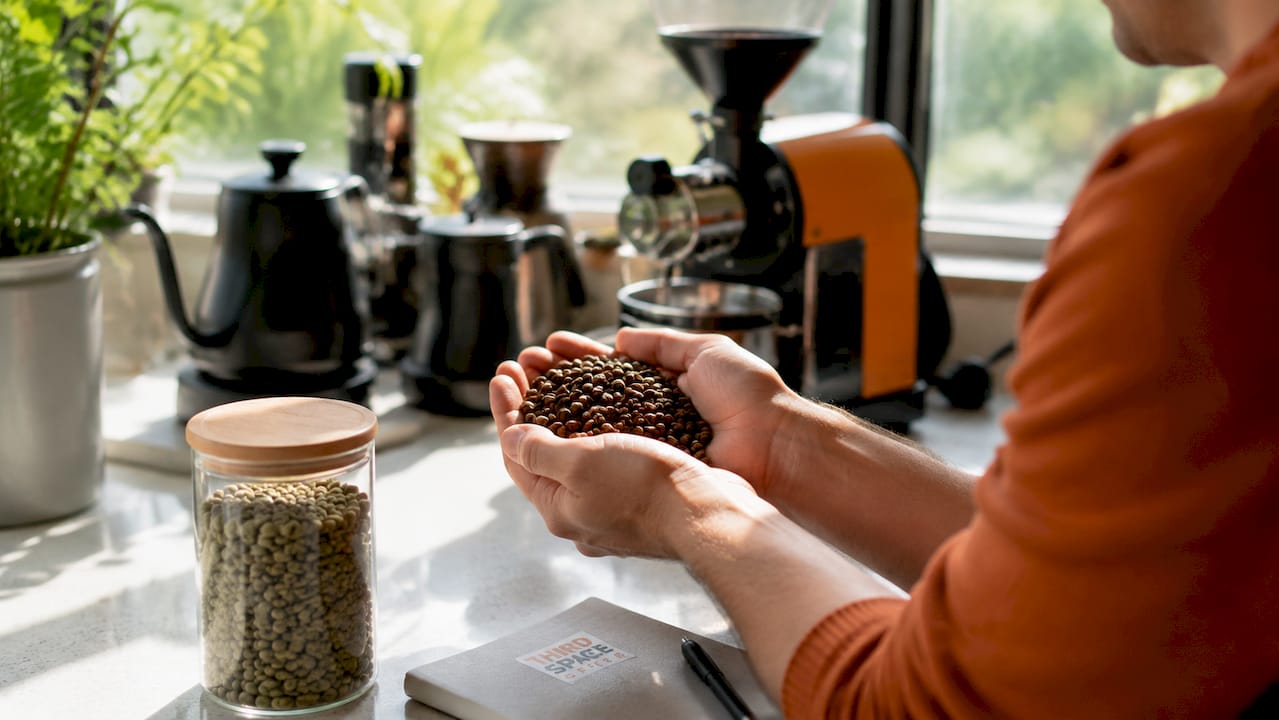
Pro Tip: Buy a small bag of green coffee beans from a specialty importer before investing in equipment. Green beans are far cheaper than roasted beans, and tasting your first batch will tell you whether home roasting is worth the upgrade.
What are the key stages of the coffee roasting process?
Every roast follows the same three phases. Understanding them is the foundation of any good roast profile.
The three core roasting phases
- Drying phase (4–6 minutes, 150–160°C / 302–320°F): Green beans contain significant moisture. The first phase drives that moisture out. Beans turn from green to yellow and smell grassy or hay-like.
- Maillard reaction phase (4–5 minutes, 160–180°C / 320–356°F): Sugars and amino acids react to produce hundreds of flavor compounds. Beans shift from yellow to light brown. This is where most of the coffee's complexity develops.
- Development phase (starts near 196°C / 385°F): First crack signals the start of this phase. Beans expand, crack audibly, and release CO2. Roast level is determined by how long you stay in this phase.
Roasting progresses through these three phases with temperature and timing defining the flavor outcome at each stage. Rushing any phase produces flat or harsh results.
Roast levels and what they taste like
- Light roast: Pulled shortly after first crack. Bright acidity, floral and fruit notes, lighter body.
- Medium roast: A few minutes past first crack. Balanced sweetness and acidity, caramel and nut flavors.
- Dark roast: Extended development or into second crack. Bold, bitter, smoky, lower acidity.
Two metrics separate good home roasters from great ones. The Rate of Rise (RoR) measures how quickly bean temperature climbs per minute. A smoothly declining RoR in heat application avoids underdeveloped or burnt beans. The Development Time Ratio (DTR) measures the percentage of total roast time spent after first crack. A DTR between 15% and 25% of total roast time balances acidity and sweetness for the best flavor. These two numbers give you a repeatable framework instead of guesswork.
For a deeper look at how each phase shapes your cup, the roasting flavor transformation guide from Thirdspacecoffee breaks it down clearly.
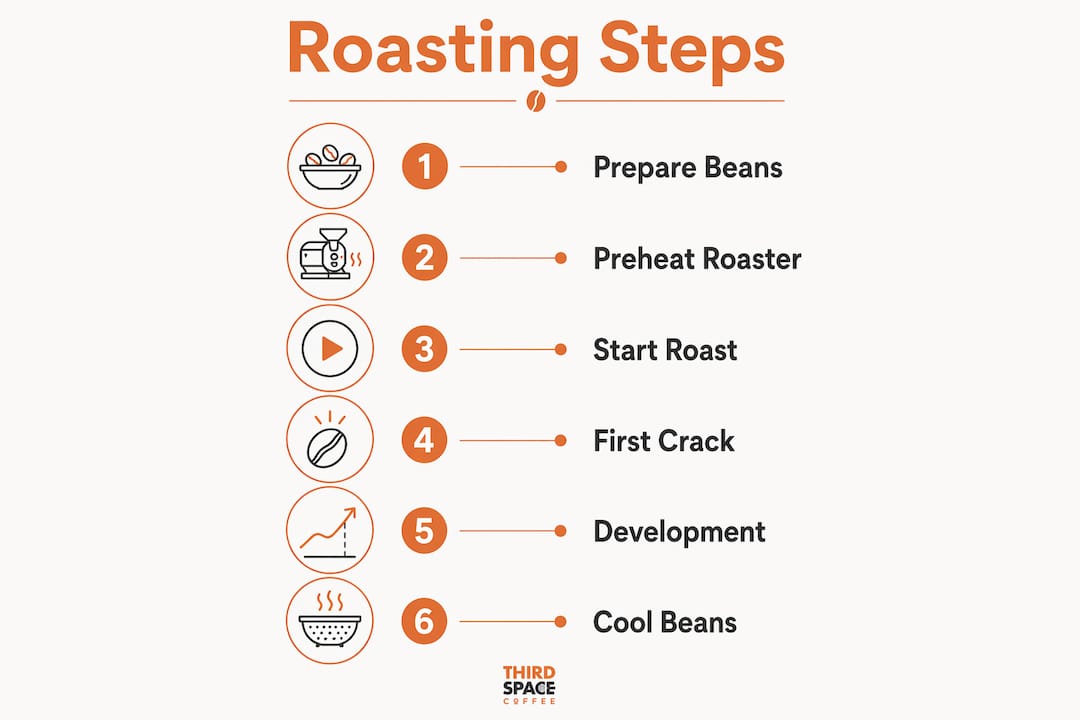
How do you roast coffee beans step by step at home?
The process below applies to the three most common home methods: skillet, oven, and air popcorn popper. Steps 1–3 are universal. Steps 4 onward vary by method.
- Source green coffee beans. Buy from a specialty green bean importer. Single-origin beans from Ethiopia, Colombia, or Guatemala are good starting points because their flavor profiles are well-documented.
- Measure your batch. Start with 100–150 grams (about half a cup). Small batches are easier to control and cool quickly.
- Preheat your equipment. Preheat your skillet to medium-high, your oven to 450°F, or run your popper for 30 seconds before adding beans.
- Add beans and start your timer.
- Skillet: Stir constantly with a wooden spoon. Keep beans moving at all times to prevent scorching.
- Oven: Spread beans in a single layer on a perforated baking sheet. Shake the tray every 2–3 minutes.
- Popcorn popper: Pour beans into the popper chamber. The hot air does the stirring for you.
- Listen for first crack. Around 8–10 minutes in, you will hear a sharp popping sound, similar to popcorn. This is first crack. Light roast ends shortly after. Medium roast ends 2–3 minutes later.
- Cool beans immediately. Pour beans into a metal colander. Shake vigorously or use a fan to drop temperature fast. Rapid cooling stops the roast exactly where you want it.
- Rest before brewing. Fresh-roasted beans release CO2 for 12–24 hours. Wait at least 12 hours before grinding for best results.
Pro Tip: Record your timer readings at first crack and at the end of each roast. After three batches, you will have a repeatable roast profile you can adjust intentionally rather than by feel.
For a detailed breakdown of each method with timing charts, the step-by-step roasting guide from Thirdspacecoffee is worth bookmarking.
What safety tips should home roasters know?
Home roasting produces real heat, real smoke, and real fire risk. These are not theoretical concerns.
Critical safety practices:
- Ventilate aggressively. Roasting in an unvented room risks carbon monoxide buildup and can trigger smoke alarms within 6 minutes. Use a range hood, open windows with a fan, or roast outdoors.
- Manage chaff. Roasting produces chaff, the thin papery skin that separates from beans during roasting. Chaff is highly combustible. Vacuum your roasting area and empty chaff collectors after every batch.
- Never leave a roast unattended. Beans can go from perfect to burning in under a minute, especially in a skillet or oven.
- Keep a fire extinguisher nearby. This is standard practice in any roasting environment, home or commercial.
- Disable smoke alarms temporarily. Place a towel over nearby detectors during the roast, then restore them immediately after. Never remove batteries permanently.
Roasting too dark, too fast is the most common beginner mistake. Pull your roast slightly lighter than you think you want. You can always go darker on the next batch, but you cannot undo an overroasted bean.
Beginners often roast too dark or too fast, and starting with lighter roasts preserves the natural characteristics of the bean. The other hidden mistake is trusting color alone. Beans may look evenly brown yet be underdeveloped internally. Managing your Rate of Rise carefully prevents a raw or grassy flavor that no grind size or brew method can fix.
Pro Tip: Roast near your kitchen sink. If beans ignite in a pan, a quick pour of water stops the problem immediately. Keep the lid of the pan nearby as a smothering option too.
Key Takeaways
Roasting coffee beans at home produces fresher, more flavorful results than any pre-roasted bag, provided you control temperature, timing, and ventilation throughout the process.
| Point | Details |
|---|---|
| Start with simple equipment | A skillet or air popcorn popper costs under $40 and teaches core roasting skills. |
| Learn the three roasting phases | Drying, Maillard, and Development phases each shape flavor in distinct ways. |
| Use DTR to control roast level | Keep Development Time Ratio between 15% and 25% of total roast time for balanced flavor. |
| Prioritize ventilation and chaff safety | Roast in a vented space and clear chaff after every batch to prevent fire and CO risks. |
| Rest beans before brewing | Wait at least 12 hours after roasting before grinding for the best cup. |
Why home roasting rewards patience more than perfection
I have roasted coffee on everything from a cast iron skillet on a gas burner to a small drum roaster, and the single biggest lesson is this: your first five batches are data, not failures. Most home roasters quit after two or three attempts because the results do not match what they imagined. The truth is that even a slightly underdeveloped or slightly dark batch teaches you something a YouTube video cannot.
The part that surprised me most was how much sound matters. Color is deceptive. A bean can look a perfect medium brown and taste flat or grassy because the Rate of Rise was too aggressive in the early phase. Once I started listening to the pace of first crack rather than watching the color, my batches became dramatically more consistent. Slow, spread-out cracks mean a controlled roast. Rapid, bunched cracks mean the heat climbed too fast.
My honest advice for anyone moving from beginner to intermediate: stop chasing dark roasts. Light and medium roasts are harder to nail, but they reveal far more about the bean's origin and processing. A well-developed light roast from an Ethiopian Yirgacheffe will show you flavors you did not know coffee could have. That discovery is what makes the whole process worth it.
If you are ready to take your setup further, the home roasting elevation guide from Thirdspacecoffee covers the transition from beginner methods to more controlled roast profiles with practical detail.
— Tanya
Fresh beans from Thirdspacecoffee for your next roast
Home roasting is most rewarding when you start with quality green beans and have great roasted coffee on hand for comparison. Thirdspacecoffee roasts its beans in-house in Colorado Springs, which means every bag reflects a deliberate roast profile you can learn from.

Thirdspacecoffee's whole bean coffee selection gives you a direct reference point for what a well-developed roast tastes like, which is genuinely useful when you are calibrating your own batches at home. When you want a break from the roaster, their specialty drinks menu offers expertly crafted options made from the same quality beans. Stop by or order online for pickup at the Colorado Springs location.
FAQ
How long does it take to roast coffee beans at home?
A home roasting batch takes 8–15 minutes from start to finish, plus 4–5 minutes for rapid cooling. Total active time is typically under 25 minutes.
What is the best way to roast coffee beans for a beginner?
An air popcorn popper is the best starting point. It circulates heat evenly, lets you watch the beans throughout, and costs under $40. A cast iron skillet works too but requires constant stirring.
What temperature does first crack happen at?
First crack begins near 196°C (385°F). It signals that the beans are drinkable and marks the start of the Development phase where roast level is determined.
How do I know if my beans are underdeveloped?
Underdeveloped beans taste grassy, raw, or sour even after brewing. Even color does not guarantee full development. Controlling your Rate of Rise during roasting is more reliable than judging by appearance alone.
How long should I wait before brewing freshly roasted beans?
Wait at least 12 hours after roasting before grinding and brewing. Fresh-roasted beans off-gas CO2 during this period, and brewing too soon produces flat or uneven extraction.