 Comparison
Is a Coffee Cooling Tray Worth the Upgrade?
Last Updated: November 12, 2026
Quick Summary
A coffee cooling tray is worth the upgrade if you roast weekly, because fast, even cooling stops the roast on your terms instead of letting residual heat flatten acidity and push out aroma. Match the cooler's capacity to your typical batch size, and keep it within arm's reach of the roaster's drop door.
- A dedicated electric cooler stirs beans over a perforated plate while a fan pulls air through the bed.
- A colander and fan build takes under an hour, needs no tools, and is easiest to abandon.
- A 5-gallon bucket with a 2.5-inch hose handles 1 to 2 lb of beans in a single layer.
- Keep the layer of beans under two inches deep and stir continuously for the first minute.
- Filter screens on electric coolers need cleaning every few sessions to keep cooling fast.
Table of Contents
- Why Cooling Speed Decides How Your Roast Tastes
- Coffee Cooling Tray Types: Standalone Coolers vs. DIY Setups
- Building a DIY Coffee Bean Cooler That Works
- Using a Shop Vac for Cooling Roasted Coffee Beans
- Home Coffee Roasting Cooling Time: How Long Is Right?
- Matching Cooling Capacity to Your Batch Size and Roaster
- Cost, Build Difficulty, and Safety Compared
- Choosing Your Cooling Setup at Third Space Coffee
- Frequently Asked Questions
Why Cooling Speed Decides How Your Roast Tastes
Cooling is the last decision you make in a roast, and it locks in everything that came before. Beans keep cooking from residual heat after you drop them, so a slow cooldown keeps developing the roast past the point you intended. That extra heat flattens the acidity you worked to build and pushes aroma compounds out of the bean. Fast, even cooling stops the roast on your terms.
This is the argument for upgrade options for home coffee bean cooling in one sentence: the tray is not an accessory, it is the brake pedal.
At Third Space Coffee, we roast in-house and taste the difference cooling makes in the cup, not just on a graph. The Specialty Coffee Association's roasting guidance treats cooling as part of the roast profile rather than cleanup afterward, which matches what we find in the roastery. A bean cooled in ninety seconds tastes brighter than the same bean left to sit in a hot drum for five minutes.
Coffee Cooling Tray Types: Standalone Coolers vs. DIY Setups
A coffee cooling tray falls into one of two families: a dedicated unit with its own motor and fan, or a DIY rig built from a colander, bucket, and airflow. Both move heat off the beans. They differ in consistency, capacity, and how much of your evening the setup eats.
| Method | Typical Capacity | Setup Effort | Consistency | Best For |
|---|---|---|---|---|
| Dedicated electric cooler | 1 to 2 lb per batch | None, plug in | High | Regular roasters, repeatable profiles |
| Stainless cooling plate | Small batches | None | Moderate, needs stirring | Minimalist setups, low volume |
| Colander and fan | 1 lb or less | Low | Moderate | First-time roasters testing the habit |
| Bucket and shop vac | 1 to 5 lb | Moderate | High with practice | Larger batches, budget builds |
What a Dedicated Electric Bean Cooler Actually Does
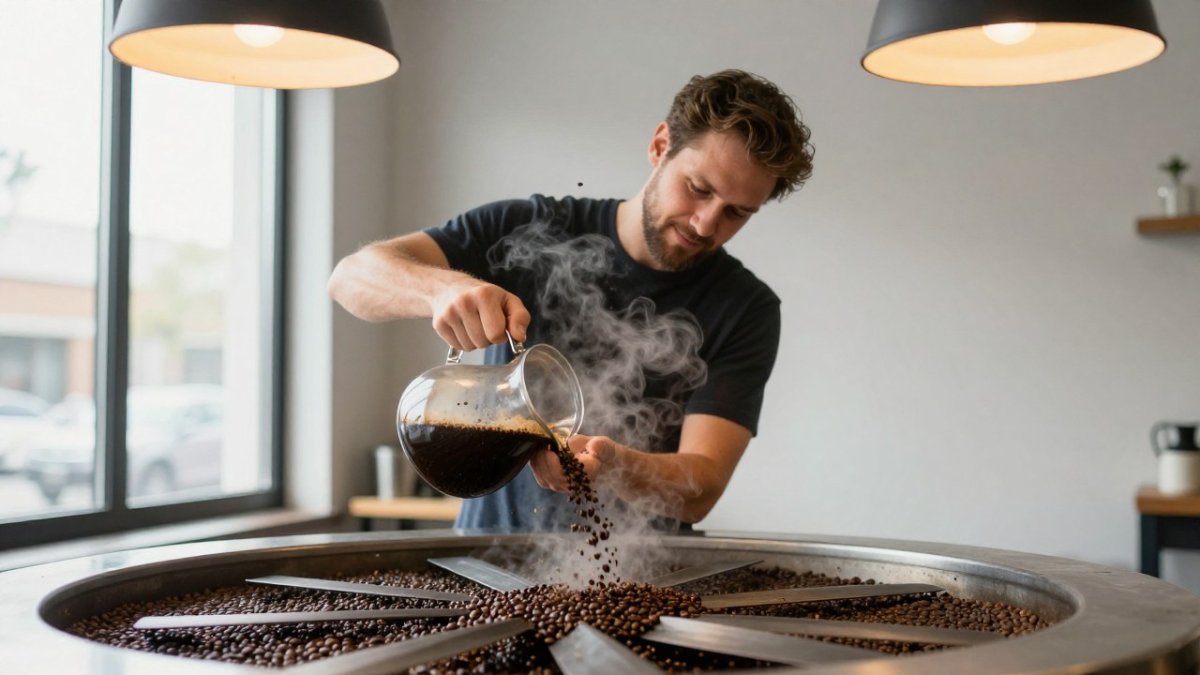
A dedicated electric bean cooler stirs the beans over a perforated plate while a fan pulls air through the bed. The stirring matters as much as the airflow: it keeps fresh surface area exposed so heat leaves evenly instead of in pockets.
Dedicated electric coolers vary in capacity, so check each listing's stated capacity against your typical batch size. What most guides miss is that capacity figures assume a single layer of beans. Overfill the tray and the airflow short-circuits.
Best for: roasters running weekly batches who want the same cooldown every time. Skip if: you roast a handful of times a year and cannot justify another counter appliance.
Building a DIY Coffee Bean Cooler That Works
A DIY coffee bean cooler works best with shallow bean depth, strong airflow, and regular agitation, since uneven cooling leaves some beans hot while others cool.
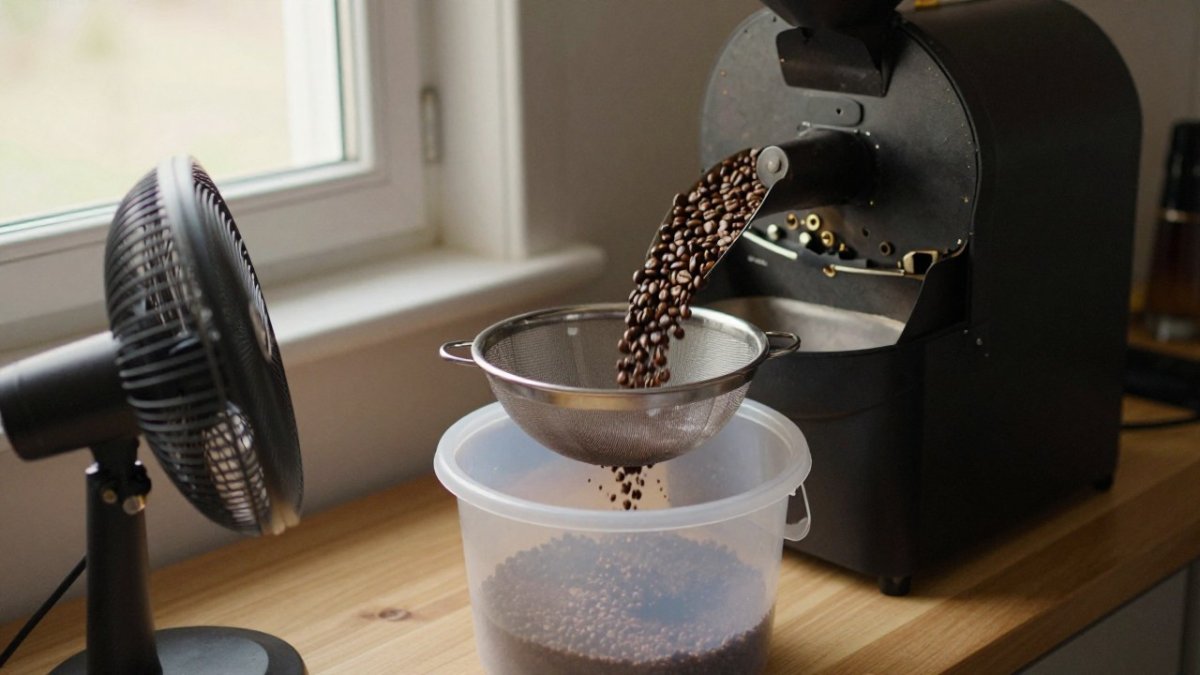
A simple DIY build looks like this:
- Set a colander over a bucket so chaff falls clear of the beans.
- Aim a box fan at the colander from below or the side, not straight down.
- Stir continuously with a wooden spoon for the first minute.
- Keep the layer of beans under two inches deep.
- Run the fan until the beans feel cool to the touch, then two minutes more.
Watch out: a colander with fine mesh blocks too much air and turns your cooling stage into a slow bake. Use a wide-hole colander or a perforated pan. If you want a broader walkthrough of cooling approaches before committing, our beginner guide to coffee bean cooling methods covers the options from simplest to most involved.
Using a Shop Vac for Cooling Roasted Coffee Beans
A shop vac for cooling roasted coffee beans works on a simple principle: suction pulls ambient air through the bean bed and drags chaff out with it. Builders mount a mesh basket inside a bucket, seal the vacuum to the bucket, and let the vacuum pull air down through the beans.
The build is straightforward but unforgiving of shortcuts. Start with a food-grade bucket and a stainless mesh basket that fits inside it with a lip to rest on. Cut a hole in the lid sized to your vac hose, then seal the hose-to-lid joint with silicone or a rubber gasket.
Capacity scales with bucket size and vac power. A 5-gallon bucket with a 2.5-inch hose handles 1 to 2 lb of beans in a single layer; push toward 3 lb and you need to stir the bed or accept slower cooling.
The trade-offs are real. Shop vacs can be loud, so hearing protection is sensible if you run one indoors. A dry shop vac pulling hot chaff is a fire consideration: empty the canister before each session, never leave the setup running unattended, and keep the exhaust pointed away from paper, cloth, and curtains.
A bucket-and-vac setup takes the most tuning of the DIY options, and seal quality matters most. The first few runs are best treated as tests: weigh the batch, time the cooldown, and check the center of the bean mass by touch before relying on the setup for a roast you care about.
Home Coffee Roasting Cooling Time: How Long Is Right?
Many home roasters aim for a cooldown of a few minutes, with the beans reaching room temperature throughout, not just at the surface. Faster is generally better within reason, and a long cooldown can let the roast keep developing past the point you intended. Because a controlled cooldown helps preserve the roast profile you intended, it also makes sense to consider how premium coffee beans for home roasters fit the results you want from each batch.
Judge the endpoint by feel and by the bean, not by the clock alone. Stir the bed, then touch the center of the mass. If the middle still feels warm, keep going. Dense beans hold heat longer than lighter ones, and a hot ambient temperature in the room stretches cooling time.
If your cooldowns keep running long or the results taste baked, that is often the same root cause as an uneven roast. Our guide to troubleshooting uneven coffee bean roasts walks through the fixes that overlap with cooling problems.
Matching Cooling Capacity to Your Batch Size and Roaster
Capacity matching is where most upgrade purchases go wrong. Buy a cooler rated for 1.3 lb and roast 2 lb batches, and you will cool in two passes or overfill and cool badly. Neither is what you paid for.
Start with your roaster's sweet spot, not its maximum. A machine that roasts 1 lb comfortably should pair with a cooler rated at or above 1 lb. If you plan to grow into larger batches, size the cooler for where you will be in a year, not where you are today.
The other compatibility question is workflow. A cooler that sits across the room from the roaster adds a hot, clumsy carry to every session. Put the cooling tray within arm's reach of the drop door. Roaster compatibility is less about brand matching and more about physical layout and batch timing.
Cost, Build Difficulty, and Safety Compared
Cost varies with the option you choose. For current pricing on any specific unit, check the retailer listing directly.
Build difficulty runs in the opposite direction:
- Colander and fan: under an hour, no tools, easiest to abandon if you dislike it.
- Stainless cooling plate: no build, but you supply the stirring and the airflow.
- Bucket and shop vac: an afternoon of cutting, sealing, and testing, with the seal quality deciding whether the build works.
- Electric cooler: no build at all, just counter space and cleanup.
Safety deserves more attention than it gets. Hot chaff plus dry suction is the risk worth managing: empty the vacuum canister before each session, keep paper and cloth away from the exhaust, and let the setup cool before storage. Electrical units near a sink or wet counter need a clear, dry spot, and any cord should be kept off the floor where a hot tray or a spill can reach it. A shop vac pulling hot air should never be left running unattended, and the canister should be emptied outdoors to avoid spreading chaff dust indoors. Hearing protection is sensible for shop vacs, which often run 70 to 85 dB at the hose.
Maintenance and durability are part of the cost picture. Filter screens on electric coolers clog with chaff and oils and need cleaning every few sessions; a clogged screen slows cooling and makes the unit work harder. Shop vac filters can load up with chaff, so plan on periodic replacement. Fans and motors are the parts most likely to fail first, which is why a simple colander-and-fan build is the easiest to repair or replace.
Choosing Your Cooling Setup at Third Space Coffee
The right upgrade depends on how often you roast and how much you care about repeatability. Roast occasionally and a colander with a fan is genuinely enough. Roast weekly and a dedicated electric cooler pays you back in consistent cups and saved time. Roast in volume and a shop vac build gives the most cooling power per dollar.
Whatever you choose, the beans are only half the story. Once they are cool, the brew method decides what ends up in the cup, and our guide to brewing fresh roasted coffee at home covers resting times and ratios. When you want beans to practice on, our 50/50 espresso blend bag is roasted in-house and ready to brew.
Cooling is the step home roasters most often skip, and it is the one that decides whether your best roast survives the night. Third Space Coffee roasts in-house every week and serves the results in Colorado Springs, with a welcoming space for remote work, meetings, and private events. Come taste what a properly cooled roast does for sweetness and aroma, and see how our in-house roasted beans and flexible event space fit your routine.
Frequently Asked Questions
Can I make a DIY coffee bean cooler at home?
Yes. A colander or perforated tray over a bucket, plus a box fan or shop vac pulling air through the beans, cools a small batch in a few minutes. Stir the beans continuously so heat escapes evenly and chaff falls free. Keep the setup away from anything flammable, since beans come out of the roaster hot.
How quickly should roasted coffee beans cool?
Aim to bring beans to room temperature within about 3 to 5 minutes of dropping them from the roaster. Faster cooling locks in the roast profile you built, while slow cooling lets residual heat keep cooking the beans and flatten aroma and sweetness. A dedicated coffee cooling tray with strong airflow hits that window consistently. If your setup takes longer than 5 minutes, upgrade the airflow before changing anything else in your roast.
Do I need a separate cooling tray for home coffee roasting?
Not always. Many roasters include a built-in cooling tray that handles small batches fine. A standalone cooler earns its place when your built-in tray is slow, when you roast back-to-back batches, or when your batch size exceeds what the built-in tray holds. Compare any cooler's stated capacity against your typical roast weight before buying.
Can I use a shop vac to cool a home coffee roast?
Yes, and it doubles as chaff removal. Fit the vac hose to a sealed bucket with a mesh basket on top, then let suction pull air down through the beans. Use a shop vac rated for fine dust and empty it outdoors, since chaff clogs filters fast. Keep the hose opening screened so beans stay in the basket.