
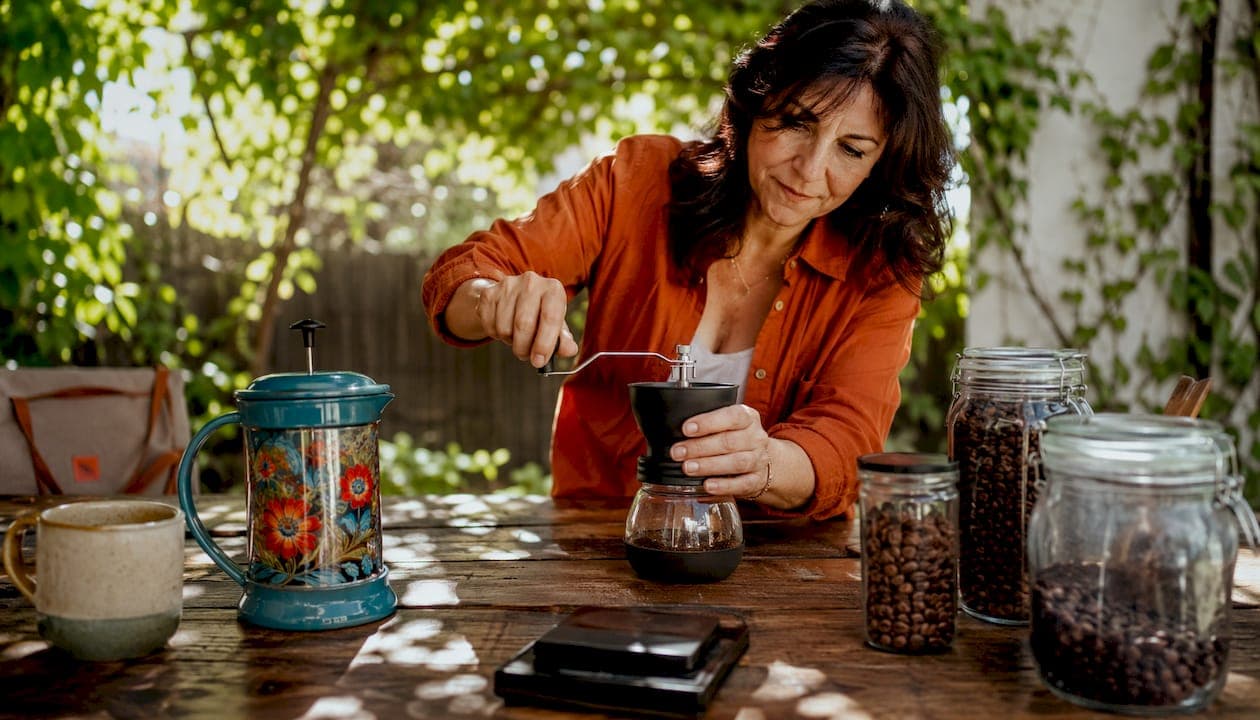
Match grind coarseness to contact time and pressure: coarser for long, slow brews; finer for short, high-pressure ones. That single rule covers 90% of grind decisions. Here's the quick-reference map before anything else:
| Brew Method | Grind Level | Texture Analog | Contact Time |
|---|---|---|---|
| Turkish | Extra fine | Powdered sugar / flour | Very short |
| Espresso | Fine | Fine sand | Short |
| Moka pot | Fine-medium | Table salt | Several minutes |
| AeroPress | Medium | Granulated sugar / sand | Few minutes |
| Pour-over / V60 | Medium | Fine sand to coarse sand | Few minutes |
| Chemex | Medium-coarse | Coarse sand | Several minutes |
| Drip | Medium | Table salt | Few minutes |
| French press | Coarse | Sea salt / peppercorns | Moderate |
| Cold brew | Extra coarse | Cracked peppercorns | Long |
Three immediate fixes you can use right now:
- Sour or weak cup — grind finer; you're under-extracting
- Bitter or harsh cup — grind coarser; you're over-extracting
- Tastes uneven, sour AND bitter in the same cup — your grinder is producing inconsistent particles; check burr condition or grinder type
Thirdspacecoffee roasts all its beans in-house in Colorado Springs and trains baristas to dial in every method by taste, which is exactly the framework this guide walks you through.
Table of Contents
- What grind size should you use for each brew method?
- Why does grind size have such a big impact on flavor?
- How does particle size distribution affect your cup?
- Burr vs. blade grinders: which one do you actually need?
- How do you dial in grind size by taste, step by step?
- Key Takeaways
- The grind setting that actually matters most
- Fresh beans from Thirdspacecoffee, ground your way
- Useful sources and further reading
What grind size should you use for each brew method?
The table above gives you the starting point. This section adds the micron ranges, texture checks, and a compact recipe for each method so you can confirm your grind is in the right zone before you start adjusting.
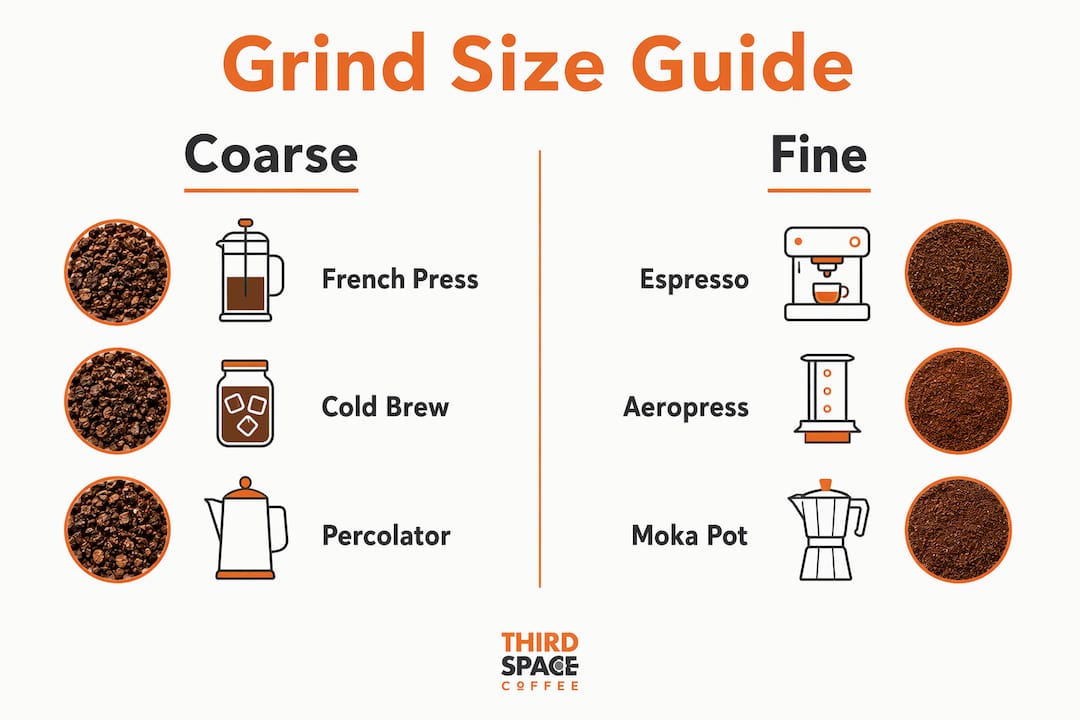
| Brew Method | Grind Description | Approximate Size | Texture Analog | Quick Recipe |
|---|---|---|---|---|
| Turkish | Extra fine | Very small particles | Flour / talcum powder | 7 g coffee, 3 oz water, bring to boil twice |
| Espresso | Fine | Small particles | Fine sand | 18 g in, 36 g out, short brew |
| Moka pot | Fine-medium | Small-medium particles | Between table salt and sand | 15 g coffee, fill basket level, typical brew time |
| AeroPress | Medium | Medium particles | Sand / granulated sugar | 15 g coffee, 250 g water, steep briefly |
| Pour-over / V60 | Medium | Medium particles | Fine to coarse sand | 15 g coffee, 250 g water, typical brew time |
| Chemex | Medium-coarse | Larger particles | Coarse sand | — |
| Drip | Medium | Medium particles | Table salt | 60 g per liter, typical brew time |
| French press | Coarse | Large particles | Sea salt / peppercorns | 30 g coffee, 500 g water, steep several minutes |
| Cold brew | Extra coarse | Very large particles | Cracked peppercorns | 100 g coffee, 1 L cold water, steep long time |
A few things worth flagging before you start brewing:
- High-sensitivity methods (espresso, Turkish): A single grinder click can shift shot time by several seconds or change the cup from balanced to undrinkable. Adjust in the smallest increments your grinder allows.
- Wide-range methods (AeroPress, pour-over): These tolerate more variation. AeroPress recipes range from fine (1-minute fast brew) to medium (3-minute inverted), so the "right" grind depends on the specific recipe you're following.
- Forgiving immersion brews (French press, cold brew): These are the most tolerant of small grind errors. If you're new to grinding, start here.
- Moka pot warning: Too fine a grind can clog the filter and build dangerous pressure. Stay on the coarser side of the fine-medium range until you know your pot.
Visual texture checks are reliable for everyday use: rub a pinch of grounds between your fingers and compare the feel to the texture analogs in the table. You don't need a particle analyzer to get close.
Why does grind size have such a big impact on flavor?
Grind size controls two things simultaneously: surface area and flow resistance. Both of those govern how fast water extracts compounds from the coffee, and which compounds come out first.
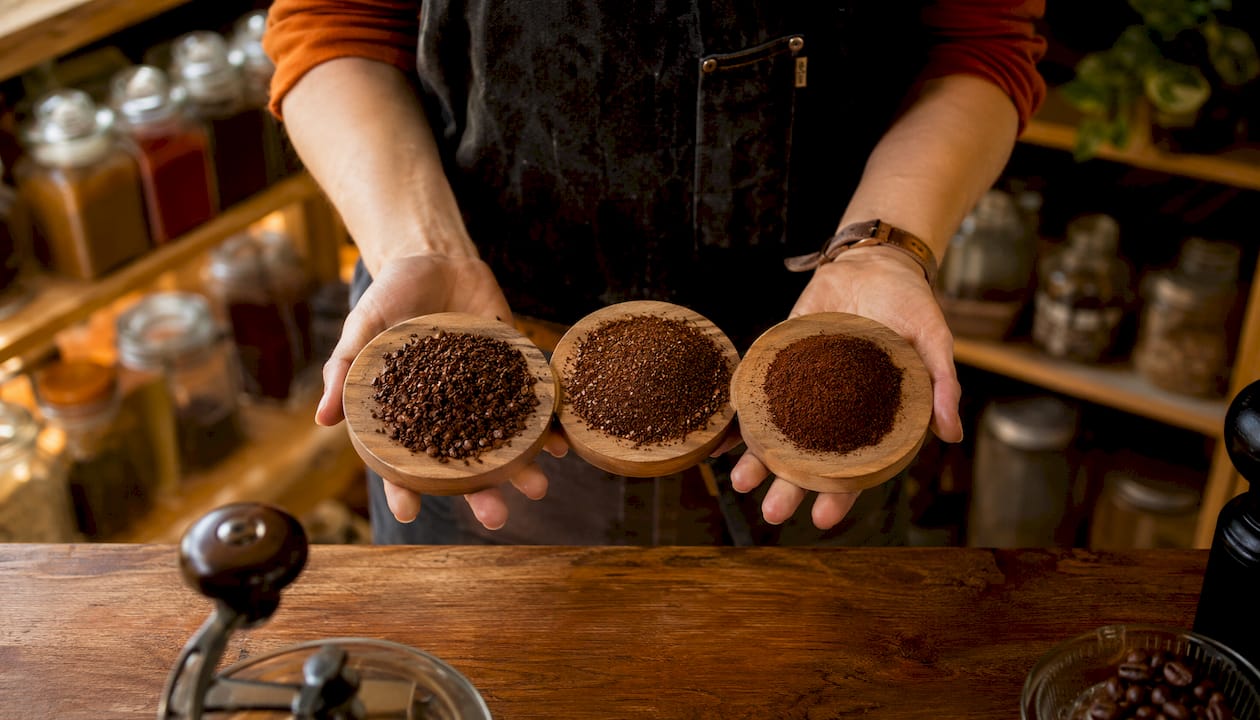
Extraction isn't a single event. It happens in phases. Acids dissolve first, then sugars, then the heavier bitter compounds. A finer grind exposes more surface area, speeds up the whole sequence, and risks pulling bitter compounds before the brew is done. A coarser grind slows extraction, and if contact time isn't long enough to compensate, you stop at the sour-acid phase without reaching sweetness. The goal is to hit the sweet spot in the middle, where sugars dominate.
Flow resistance is the other side of the equation. Finer grounds increase surface area and slow water movement through the coffee bed, extending contact time. Coarser grounds let water pass quickly. For espresso, that resistance is critical: 9 bars of pressure forces water through a fine puck in 25–30 seconds, and the grind is what creates the resistance that makes that possible. For a French press, resistance barely matters because the grounds just sit in water.
The practical takeaway is this: grind size and contact time must be matched as a pair. Change one without adjusting the other and the extraction shifts. That's why a medium grind that works perfectly in a drip machine tastes sour and thin in an espresso machine, and why the same espresso grind turns a French press into a bitter, muddy mess.
The extraction sequence in plain terms:
- Acids extract first (bright, sharp, sour notes)
- Sugars extract next (sweetness, body, balance)
- Bitter compounds extract last (harsh, dry, astringent finish)
Grind finer to push further through the sequence. Grind coarser to pull back.
How does particle size distribution affect your cup?
Particle size distribution (PSD) is as important as the average grind setting. A tight PSD, where most particles are close to the same size, produces even extraction. A wide PSD, with a mix of fine dust and large chunks, produces simultaneous over- and under-extraction in the same cup.
"Fines" are the tiny dust-like particles that result from grinding. "Boulders" are the large, under-broken chunks. When both are present in significant quantities, fines over-extract almost instantly and contribute bitterness, while boulders under-extract and contribute sourness. The result is a cup that tastes both bitter and sour at the same time, which is the clearest diagnostic sign of a PSD problem. Uneven PSD can make a cup simultaneously sour in some sips and bitter in others, and no amount of grind adjustment will fully fix it if the grinder itself is the source.
Signs you have a PSD problem:
- Cup tastes bitter AND sour simultaneously, not just one or the other
- Flavor shifts noticeably between sips
- Espresso channels or runs unevenly despite correct dose and tamp
- French press has excessive muddy sediment even at a coarse setting
Roast level matters here too. Darker roasts are more brittle and produce more fines than lighter roasts at the same grind setting. If you switch from a medium roast to a dark roast and suddenly get more bitterness, the fines increase is often the reason, not just the roast itself.
Pro Tip: Rub a pinch of grounds on a white piece of paper and look for a dusty smear alongside visible particles. A lot of dust relative to the main particle size means high fines. For a quick tactile check, grounds that feel silky-smooth between your fingers despite a "medium" setting are loaded with fines.
When PSD problems persist despite grind adjustments, the grinder is usually the culprit. Inconsistent flavor between brews often traces back to burr wear, alignment issues, or low-quality burrs rather than the recipe. Replacing or servicing burrs is the fix, not dialing in further.
Burr vs. blade grinders: which one do you actually need?
Choose a burr grinder for consistent results. Blade grinders are acceptable only for very casual brewing where flavor precision doesn't matter. That's the short answer, and it's worth understanding why before spending money on equipment.
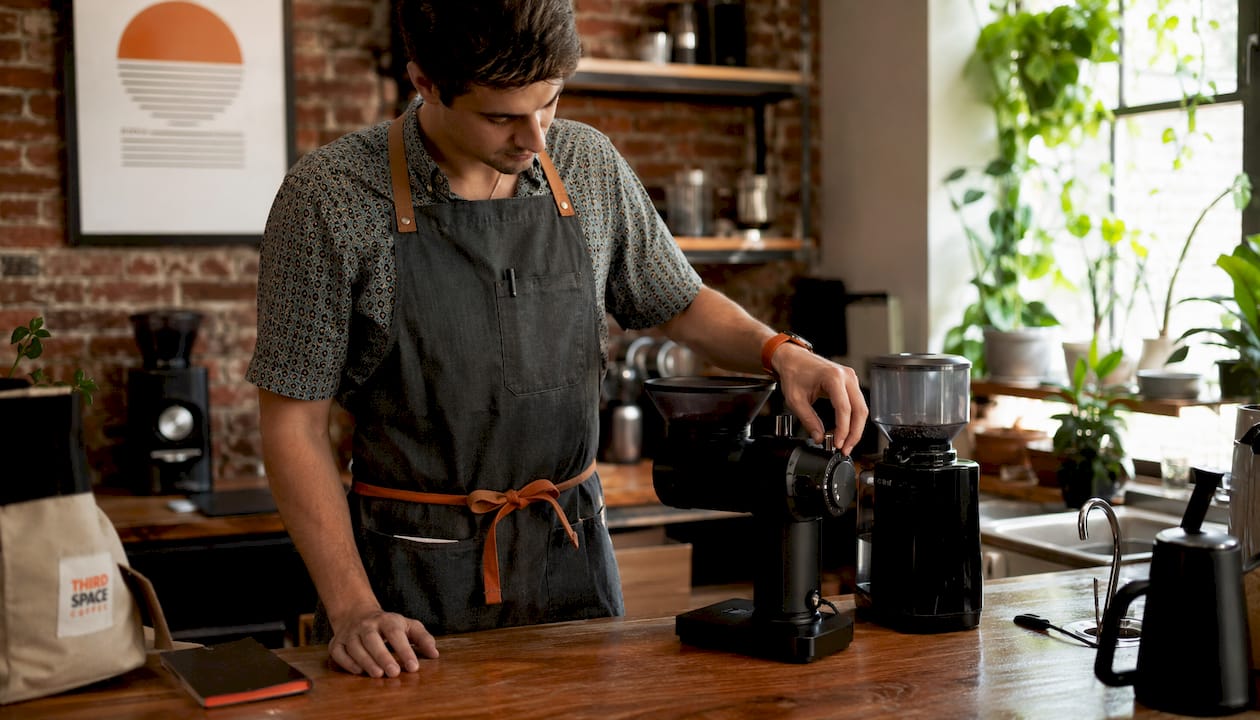
Blade grinders produce fines and boulders because they chop randomly rather than crush between two surfaces. The result is wide PSD every time, which means the mixed-extraction problem described above is baked into every cup. Burr grinders, by contrast, crush beans between two abrasive surfaces set at a fixed distance, producing a much tighter particle distribution.
Flat vs. conical burrs
Flat burrs sit parallel to each other and tend to produce a narrower PSD with slightly more fines. Conical burrs have one burr nested inside the other and typically run at lower RPM, which generates less heat and slightly fewer fines. For most home brewers, the difference is minor. What matters more is burr quality and condition than the geometry.
RPM matters because faster spinning generates heat that can affect flavor. High-RPM grinders (most blade grinders, some entry-level burr grinders) heat the grounds slightly during grinding. It's a small effect, but it's one more reason to prefer lower-RPM burr grinders for espresso.
Maintenance checklist
- Clean weekly if you grind daily: use a grinder brush or grinder-cleaning tablets (Grindz is a common option) to clear coffee oils and stale grounds from the burr chamber
- Deep clean monthly: disassemble and brush the burrs directly if your grinder allows it
- Check for wobble: a burr that wobbles during grinding is misaligned and will widen PSD; this is usually a sign of wear or a loose mounting screw
- Replace burrs when you notice a consistent drop in grind quality that cleaning doesn't fix, or after roughly 500–1,000 lbs of coffee for commercial-grade burrs (home burrs vary widely by manufacturer)
Pro Tip: The clearest sign that burrs need replacing is when your grind setting drifts: you find yourself dialing finer and finer over weeks to maintain the same extraction. Worn burrs lose their edge and produce more fines, requiring compensation that eventually runs out of range.
Budget guidance without naming brands: an entry-level burr grinder in the $50–$100 range handles drip, French press, and pour-over well. Moving to the $150–$300 range gets you better PSD consistency and enough range for AeroPress and Chemex. Espresso-capable grinders with the precision needed for fine adjustments typically start around $300–$500 for home use.
How do you dial in grind size by taste, step by step?
Fix your dose and water temperature first, brew with the recommended starting grind, evaluate the taste, then change grind by one small increment and re-test. One variable at a time. That's the whole workflow.
Here's how to run it for a pour-over, which generalizes well to other methods:
- Set your starting grind at medium (or slightly coarser than you think you need). Starting coarser than expected gives you a clear baseline and avoids clogging or channeling on the first brew.
- Fix your dose and ratio. For a V60: 15 g coffee, 250 g water at 200°F. Don't change these during the dial-in process.
- Brew and time it. A V60 should drain in roughly 2:30–3:30 total. Note the time.
- Taste immediately. Don't wait for it to cool completely; warm coffee shows extraction flaws more clearly.
- Diagnose by taste:
- Sour, thin, or weak: under-extracted. Go one click finer.
- Bitter, harsh, or dry: over-extracted. Go one click coarser.
- Flat but not sour or bitter: usually under-extracted too. Go finer.
- Balanced, sweet, with some brightness: you're there.
- Adjust one click at a time. Brew again with the same dose and ratio.
- Log your setting. Write down the grind number, dose, water temp, brew time, and tasting notes. This is the only way to repeat a good cup reliably.
Taste diagnostics at a glance:
- Sour / acidic / weak → grind too coarse, under-extracted → go finer
- Bitter / harsh / astringent → grind too fine, over-extracted → go coarser
- Simultaneously sour AND bitter → PSD problem, not a grind setting problem → check grinder
Dose and bed depth interact directly with grind. A larger dose increases flow resistance and usually requires a coarser grind to maintain the same brew time. A 22 g V60 will typically need a coarser setting than a 15 g V60 with the same water volume. When you change dose, expect to re-dial grind. When you switch to a new bag of beans, expect the same: a light roast is denser and harder than a dark roast, and will often need a slightly finer setting at the same grinder position.
Pro Tip: Keep a small notebook or use your phone's notes app as a brewing log. Record grind setting, dose, water temperature, brew time, and a one-line tasting note for every session. After a week, patterns become obvious: you'll know exactly where your grinder needs to be for each bean and method, and you'll stop re-dialing from scratch every time.
For espresso specifically, the sensitivity is higher. Small grind changes produce disproportionately large changes in shot flow and flavor because pressure magnifies the effect of particle resistance. Move in half-click increments if your grinder allows it, and target 25–30 seconds for a double shot (18 g in, 36 g out). Under 20 seconds means too coarse; over 35 seconds means too fine or too much dose.
Key Takeaways
Grind size is the primary control for extraction: match coarseness to contact time, use a burr grinder for consistent PSD, and adjust one variable at a time using taste as your guide.
| Point | Details |
|---|---|
| Match grind to contact time | Coarser for long brews (French press, cold brew); finer for short/high-pressure (espresso, Turkish). |
| Use a burr grinder | Blade grinders produce wide PSD, causing simultaneous over- and under-extraction in the same cup. |
| Diagnose by taste | Sour/weak means under-extracted (grind finer); bitter/harsh means over-extracted (grind coarser). |
| Adjust one variable at a time | Fix dose and temperature, then change grind by one click per brew until balanced. |
| Thirdspacecoffee whole-bean coffee | Freshly roasted in-house in Colorado Springs; grind immediately before brewing for best extraction. |
The grind setting that actually matters most
Most grind guides treat the chart as the destination. It's not. The chart is just where you start.
Here's what gets underplayed: the single biggest variable in home brewing isn't grind size, it's grind consistency, and that's entirely a function of your grinder, not your setting. You can have the "correct" grind number dialed in perfectly and still get a muddy, uneven cup if your burrs are worn or your grinder is producing a wide particle spread. The chart tells you where to aim. The grinder determines whether you actually hit it.
The other thing most guides skip: beans change. A fresh bag of the same roast from the same roaster will often need a slightly different setting than the bag you finished last week, because coffee degasses over time and density shifts slightly. Light roasts behave differently than dark roasts at the same setting. Seasonal crops from the same origin can vary in hardness. This is why using taste and total brew time to finalize settings matters more than memorizing a number. The number is a starting point. Your palate is the instrument.
At Thirdspacecoffee, baristas re-dial the espresso grinder every morning and again whenever a new roast goes on the machine. Not because the setting drifted wildly overnight, but because small changes in bean age, ambient humidity, and roast batch can shift extraction by several seconds. That discipline is what separates a consistently excellent shot from a hit-or-miss one. For home brewers, the same principle applies at a smaller scale: keep a log, taste every cup with intention, and adjust when something shifts. The home brewing skills guide on the Thirdspacecoffee blog walks through this method-by-method if you want a deeper reference.
Fresh beans from Thirdspacecoffee, ground your way
Every grind guide assumes one thing: you're starting with fresh, quality beans. Stale pre-ground coffee won't respond to dialing in the way fresh whole beans do, because the volatile compounds that create aroma and sweetness have already off-gassed.
Thirdspacecoffee roasts all its whole-bean coffee in-house at its Colorado Springs location, which means you're getting beans at peak freshness, not sitting in a warehouse. Order online for quick front-of-store pickup, or stop in and ask the staff which roast suits your brew method. If you want to skip the home grind entirely, the specialty drinks menu lets you taste what a properly dialed-in espresso or pour-over actually tastes like, which is a useful reference point for calibrating your own setup at home. Place your order online and pick it up on your schedule.
Useful sources and further reading
The sources below back the claims in this guide and are worth bookmarking if you want to go deeper on any specific method or concept.
- RoastAroma: Coffee Grind Size Guide — the source for the micron ranges used in the method chart; practical and well-organized for home brewers.
- Fellow: The Ultimate Coffee Grind Size Chart — covers texture analogs, burr grinder basics, and why consistency matters more than the setting number.
- Scott Rao: How to Choose a Grind Setting — the authoritative source on dose-grind interaction and why starting coarser gives a better baseline.
- CoffeeGearHub: Grind Size Explained — clear taste-diagnostic rules and grinder troubleshooting guidance.
- BrewFYI: Getting Started with Coffee Grind Size — useful for espresso sensitivity and understanding why pressure magnifies grind changes.
- Thirdspacecoffee: Master Coffee Extraction — a practical follow-up for readers who want deeper extraction theory and troubleshooting beyond grind size alone.
- Thirdspacecoffee: Coffee Blends Explained — helps you match roast and blend profiles to grind settings, especially useful when switching between light and dark roasts.
- Thirdspacecoffee: Understand Coffee Profiles — tasting and profiling guidance that pairs directly with the taste-based dialing-in method in this article.